Browsing Category

DIY Tutorials

Babies and Kids, DIY Tutorials, Motherhood

Outdoor Playhouse Makeover

This outdoor playhouse makeover is brought to you by boredom, anxiety and Pinterest! Like many of you, I have been confined to my home during this Pandemic and looking for ways to pass the time during those moments you just need a break from the stay at home routine. For me, I have always enjoyed redoing and fixing things so when I took a look at my kids outdoor playhouse I thought now would be a perfect time to give it a makeover.

You can pick up virtually any used playhouse and customize it. Ours was something we already had, but just needed new life.

What you will need:

  • Sandpaper/ sanding block or machine
  • Paint primer for outdoor use
  • 1 Gallon outdoor paint for main house – I used Behr Paint Soft Pebble
  • 1qt for trim & accent color semi gloss – I used Ballerina Pink
  • Painters tape
  • paint roller & small brush
  • Spray paint for plastic (Kitchen)
remove all accessories. Sand if needed. Ready for primer
Remove all accessories. Sand if needed.
Use painters tape to section off areas that will not be the main color of the house
I spray painted the kitchen accessories.
Finished playhouse!
Babies and Kids, DIY Tutorials

Why Every Toddler Needs a Learning Tower

A Learning Tower is an amazing addition to your home and your toddler life. Many parents and parents to be have never heard of one. Leaning tower? Nope, Learning Tower!  Before I get into why, let me first tell you what it is. It is a spruced up step ladder with safety siding of course.

My daughter has had one and used one since she was about 12 months old.  She uses it to wash her hands, reach the sink and wash dishes with me, she learned how to crack and egg and make breakfast!

This learning tower is one of the most popular ones two choices for you    
Or if you feel crafty you can make one!

Ok so back to the why… Because it allows for your toddler to participate in every day activities and some! My daughter learned to crack an egg at like 18 months and has also since then been helping me wash dishes.
Learning life essential skills is a Montessori fundamental. Creating Independence is too! You don’t know how many times I have witnessed my daughter grab her tower and move it to the sink to wash her hands or wash dishes.

Buzz & Bella, DIY Tutorials, Kitchen & Baths

Dog Wash Room

Here is a quick look at our dog wash room… oh and yes laundry gets done there too! As a dog owner of two I really wanted a way to make dog wash days easier and this set up has been heaven for us! Our dogs are Boston Terriers and weight under 30lbs. They are not that big so do not warrant the need to hose them down outside. The bath tub was getting to be tiresome since you have to be on your knees and bent over and let alone the mess it created. So we added a little dog wash station to our laundry room and it has worked perfectly!


So here is the WASH room! Our pup showing you her tub… We got regular kitchen sink from Home Depot installed on top of a kitchen cabinet. The sink measures 21″ x 16″ and my dogs fit perfectly in it. We installed a kitchen sink faucet with an extendable neck to better help wash them.

These doggie tail hangers I got from IKEA and I use them to hang their leashes.


A little fun decor and wah-lah!

DIY Tutorials, Parties

Safari Boy Baby Shower

It’s a Boy! We celebrated the soon to be addition to our family with a safari theme baby shower.  From safari centerpieces, decorations and a fully safari-scaped dessert table. I am a huge DIY person so most of the decorations and things done here were all DIY. I will share where I bought materials from and how they were made. The safari theme is pretty cool because it can be used for lots of other type of events from birthday parties to baby showers. Enjoy and happy planning!

Centerpieces

I made 3 different type of centerpieces. The first here is made using used formula containers and I bought fabric to cover them up. You can also buy pretty safari themed paper to do the trick. The animals glued on top were found at the Dollar Tree store. Score!! Here are some similar ones you can buy SAFARI ANIMALS

These centerpieces I made using Mason Jars that I have used for other parties in the past. You can find them at craft stores and even Target. I just keep changing out the ribbon and obviously whatever they are topped off with. I ordered the jumbo leaves from Ebay and the little animals were specially hand made… sorry! Can’t buy those


Dessert Table


Cupcake toppers were bought via Ebay or Amazon sells them too and you can get them faster .. super cheap and cute! You have to order them a good month in advance because they come from China, but hey, they are cute and super cheap.


I made the backdrop using dollar store crepe paper and the brown vines…. are made using painters paper… yup those roles of brown paper they layout to prior to painting. I just cut them into thin strips and rolled and crumbled them up to appear like branches. The hanging monkeys were another Dollar Tree $1 score!!  I had some jumbo leaves left over so added those as well.  I used old cardboard boxes to create the jumbo blocks and that wood crate that is an antique I am super lucky to have.

DIY Tutorials, Entertaining, Wedding

Sequin Letter Garland DIY

When it comes to throwing parties the more festive the better!In this post I teach you how to make your very own sequin letter garland one of many things I did as I was planning the biggest celebration so far… my own wedding! With that came a lot of planning, expenses and things that need to be pretty-fied! Since I had an ongoing complete home remodel my wedding needed some tender loving care full of a lot of DIY projects to keep cost low without loosing the festive and fun look I was going after. I am a Pinaholic and this DIY comes from a pin I saw originally on Beautiful Mess.

6a00d8358081ff69e201bb07b3d0e2970d-800wi

If you are a bride to be or simply someone who loves to entertain at your home this pretty and easy to do sequin garland will make any room look more festive. You can opt to change the phrase to whatever you would like. I selected the word LOVE as my garland. I plan on using this at my wedding possibly decorating either the dessert table or maybe a table with our pictures. Who knows, but I am sure it will make any basic table look better.

So first of I hit up my favorite craft store. Jo-Ann Fabric and Craft Stores. Make sure to check online for their coupons and simply bring in your phone. I had a 50% all items so I scored and saved a lot! Here is a quick list of what you will need


Supplies:
stretch sequin gold trim (I bought 5 yards. You can use any color of your choice)
-scrap cardboard ( go to the back of a grocery store or any department store to find some ready to be rescued)
X-Acto knife
hot glue gun
– Metallic Gold Trim of your choice.

20141225_172031

First you’ll want to print each letter in your phrase so you can use it as a template. I used Photoshop to be easier than Microsoft Word. Photoshop allows you to easily set the font size. I chose to make my letters 10″ x 4″ in width. My sequin that I bought was 2″ thick so the trim would nicely fit in two layers. Tape each letter to your scrap cardboard and cut out the letters with an X-Acto knife. As your template.


20141225_17205720141225_183236


To make the ends of the trim look as neat as possible, you’ll want to fold and glue the ends under so the trim doesn’t unravel and drop sequins. I learned this by making a mistake on the first letter I made. So, at the end of the outside edge of your letter, use the hot glue gun to glue the trim end face down going away from your letter.

Fold the trim back the opposite way and continue to glue the trim all around the outside edge of the letter. When you reach the other end, cut the trim so it hangs a little past the end, fold the trim under and glue in place.

Very important: Make sure both lines of trim are going in the same direction so they will look more like one piece instead of two.

If you have a letter with intersections, don’t worry about doing the folds on places where you can cover those ends with another row. So on the “V” I just cut and glued the middle horizontal lines, then covered those cut ends with the vertical lines that had folded ends.

Once you have all your letters completed, you can line up your phrase (backwards of course!) and glue your hanging cord to the back of the letters. Once the glue sets, you’re ready to hang your garland!

20141227_14074020141227_134949

sweetlove
Did you try it and make one? Share with us what phrase you made! xoxo- Adriana

DIY Tutorials

DIY Photo Monogram – My First PINTEREST DIY!

So excited to share with you my DIY Photo Monogram! Like many of you I am addicted to Pinterest and constantly find things I want to make, cook, have, buy,  and do on there! I finally got to work and (got my fiance to work) and was inspired by these photo collages to use it at my upcoming wedding. Not sure yet where it will be displayed, but who doesn’t love pictures! DIY Photo  Monogram

So here is my take on a very simple easy to follow and sure to please anyone Picture Monogram.

I scored these beautiful think hardwood letters at my local Marshalls. I had been scouting their home décor section for a while and finally came acorss an “M” and an “A” for $5.99 each! Once in hand all the other supplies were easy to get.

Supplies:

First thing you will want to do is spray paint the wood letters black. I chose black so that when you cover it up in black and white photos you will be less likely to see the little spaces in between each picture. I like to use Rust-Oleum spray paint. I have found this to work the best.

20150101_145013


Second step – gather all of your material. Lay out all your pictures, your dry letters if you spray painted them and all other things you need.

20141227_142534


Third step – you will want to plan out your picture layout. Treat it like a puzzle. Pick and chose which pictures you want to display and approximately where they will go once you are pretty content with the placement begin cutting using your X-Acto knife and scissors. Add a layer of Mod Podge adhesive to the back of the pictures.

20150101_173526

Forth step – once you have all the pictures cut and glued down where needed you will seal it with the Mod Podge. I chose the gloss finish so that when dry you can have it reflect light better. Let it dry.20150101_182504

That is it! Wah-lah!

DIY Photo  Monogram


You have beautiful personalized monogram letters. Perfect for any display! I can see this being used in a home office, a babies room, at a party, you name it! You can also make numbers say for a babies first birthday! Enjoy. xoxo- Adriana


DIY Tutorials, Wedding

Cute DIY Ways To Ask Bridesmaids

I promise I am not turning into bridezilla…but I sure am having fun being a bride to be! Let me share with you two quick and easy DIY ways to ask your girlfriends to be your bridesmaids. Here are two cute DIY ways to ask bridesmaids to be a part of your special day!

Bridesmaidpost

One is your very own Bridesmaid “Pop The Question Diamond Ring” and the other is a “Message In a Bottle”

First,

I scored these super cool paper weights that look like diamonds! Who doesn’t like diamonds!!
$T2eC16FHJGYFFkzNB2n(BSGR08zPIw~~60_35
They already came in a cute little box so all I had to do is write a personal message on each one of them.

BridesmaidProposal


The message in each diamond ring was:

” My turn to POP the question… Will you be my bridesmaid August 8th 2015??


Second I decided to send my cousin who I was asking to be my bridesmaid not just a card and I didn’t just want to pick up the phone and ask her or ask her when I saw her… I got the idea of “message in a bottle” when I spotted these cute glass bottles at Michaels craft store.

20150116_210930


I then used Microsoft Word to type out my message. Mine was this…. I used different fonts.
20150116_210905

Lastly… after picking up some sand from my local beach.. yes people I DID go and pick up some sand from the beach and adding a few gems to it I put it all together and wahlah!

20150117_182735

DIY Tutorials, Entertaining

DIY Simple Dessert Table

Hi everyone! Ever notice how people no longer eat cake at birthday parties or weddings? Well I want to take a few minutes to share with you how to create a simple dessert table for your next party that is sure to please your guest. Cakes are out & dessert tables are in! I have always been one to eat wayyyyy to much desert! I usually choose ice cream over steak ANY day so having a selection of sweets is just so much more fun for your guest to enjoy. Here are some simple things to do for you next party if you want to have a dessert table.
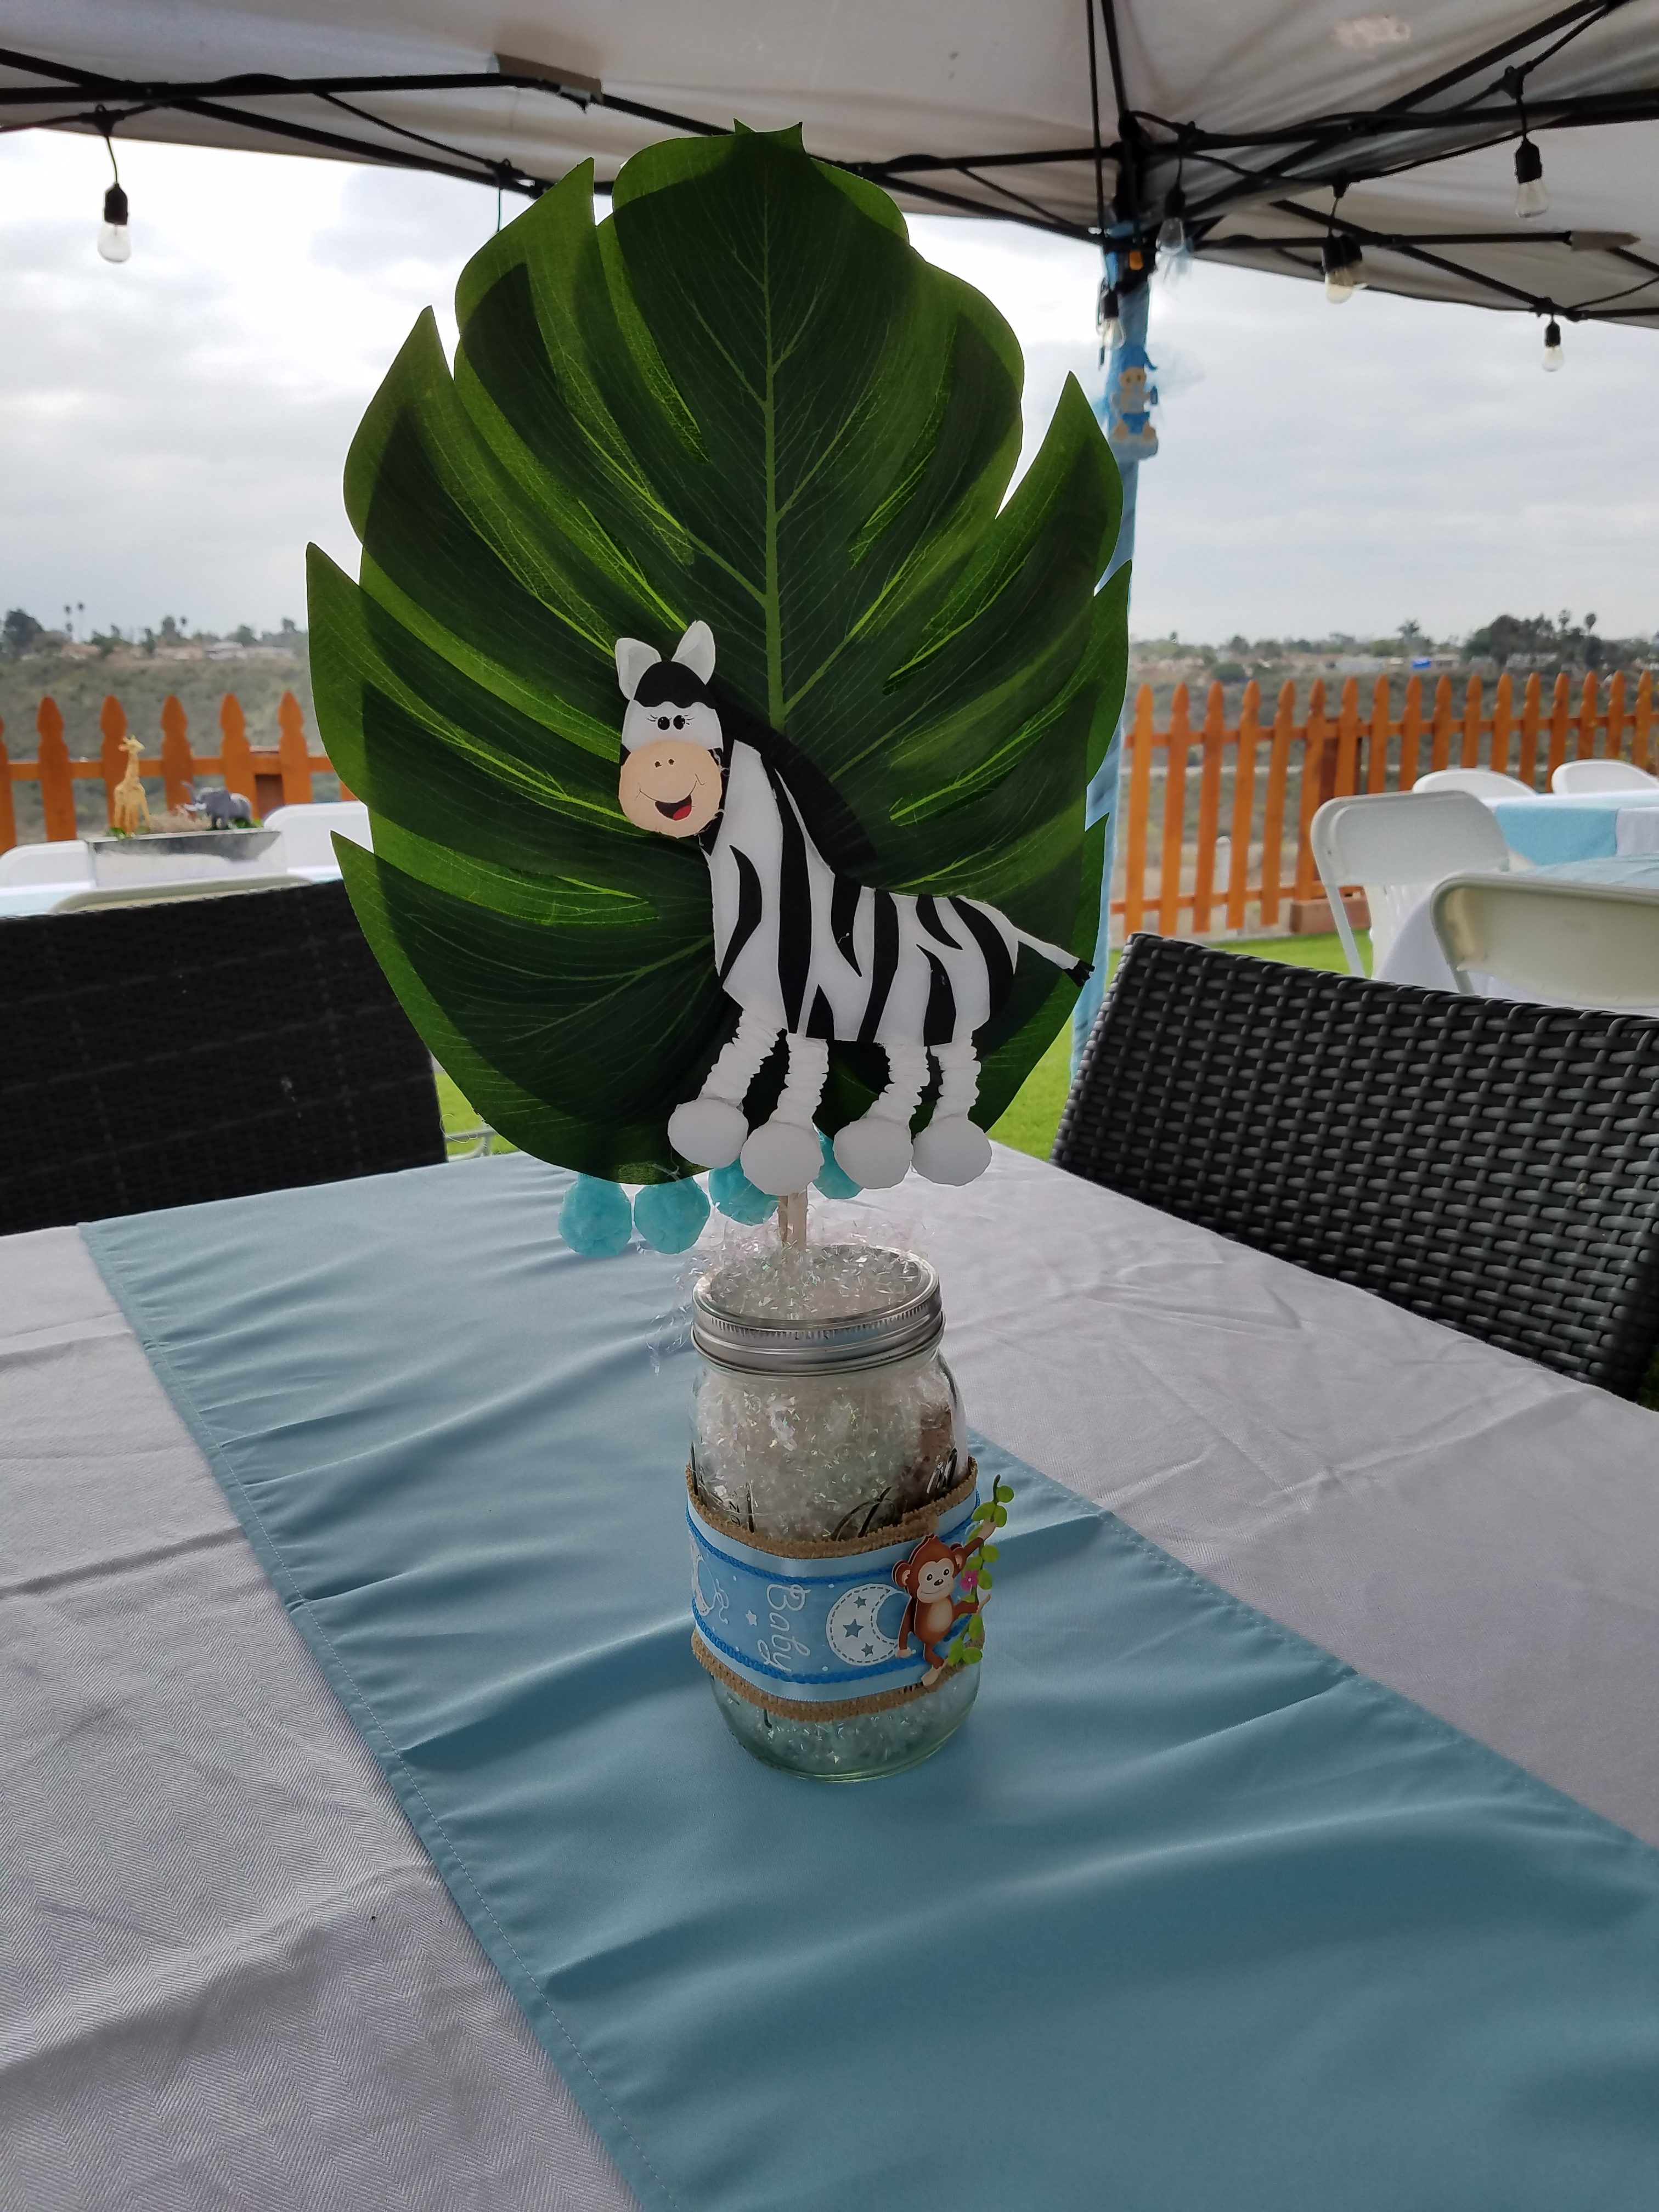
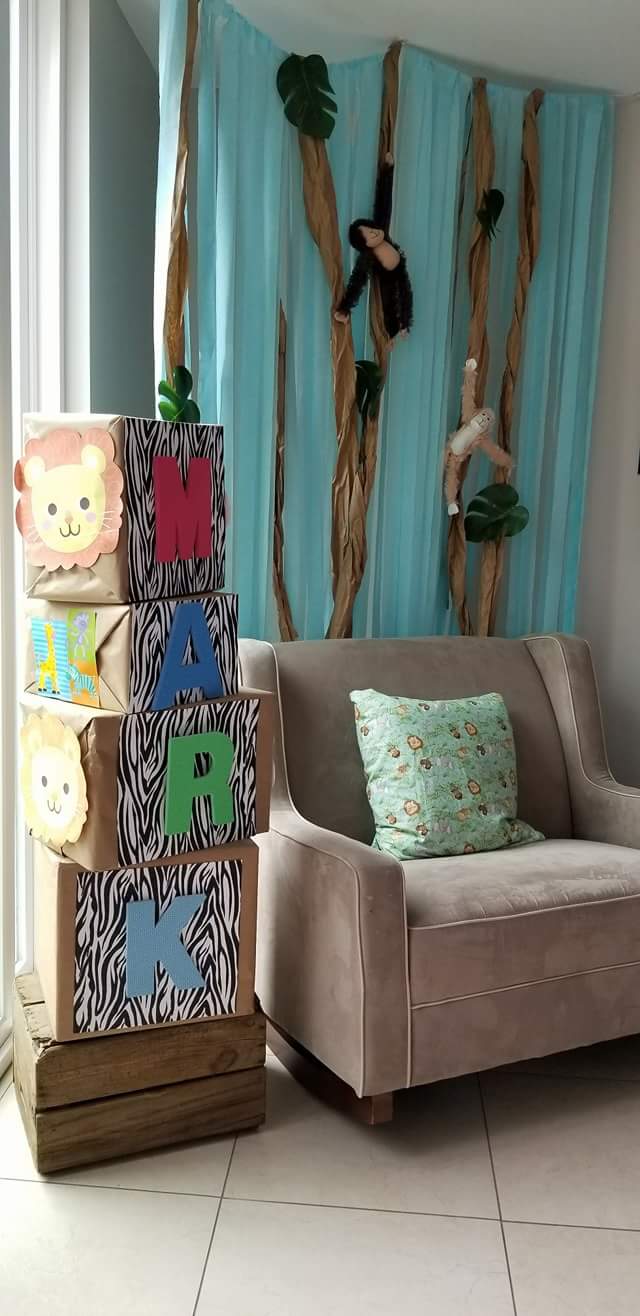
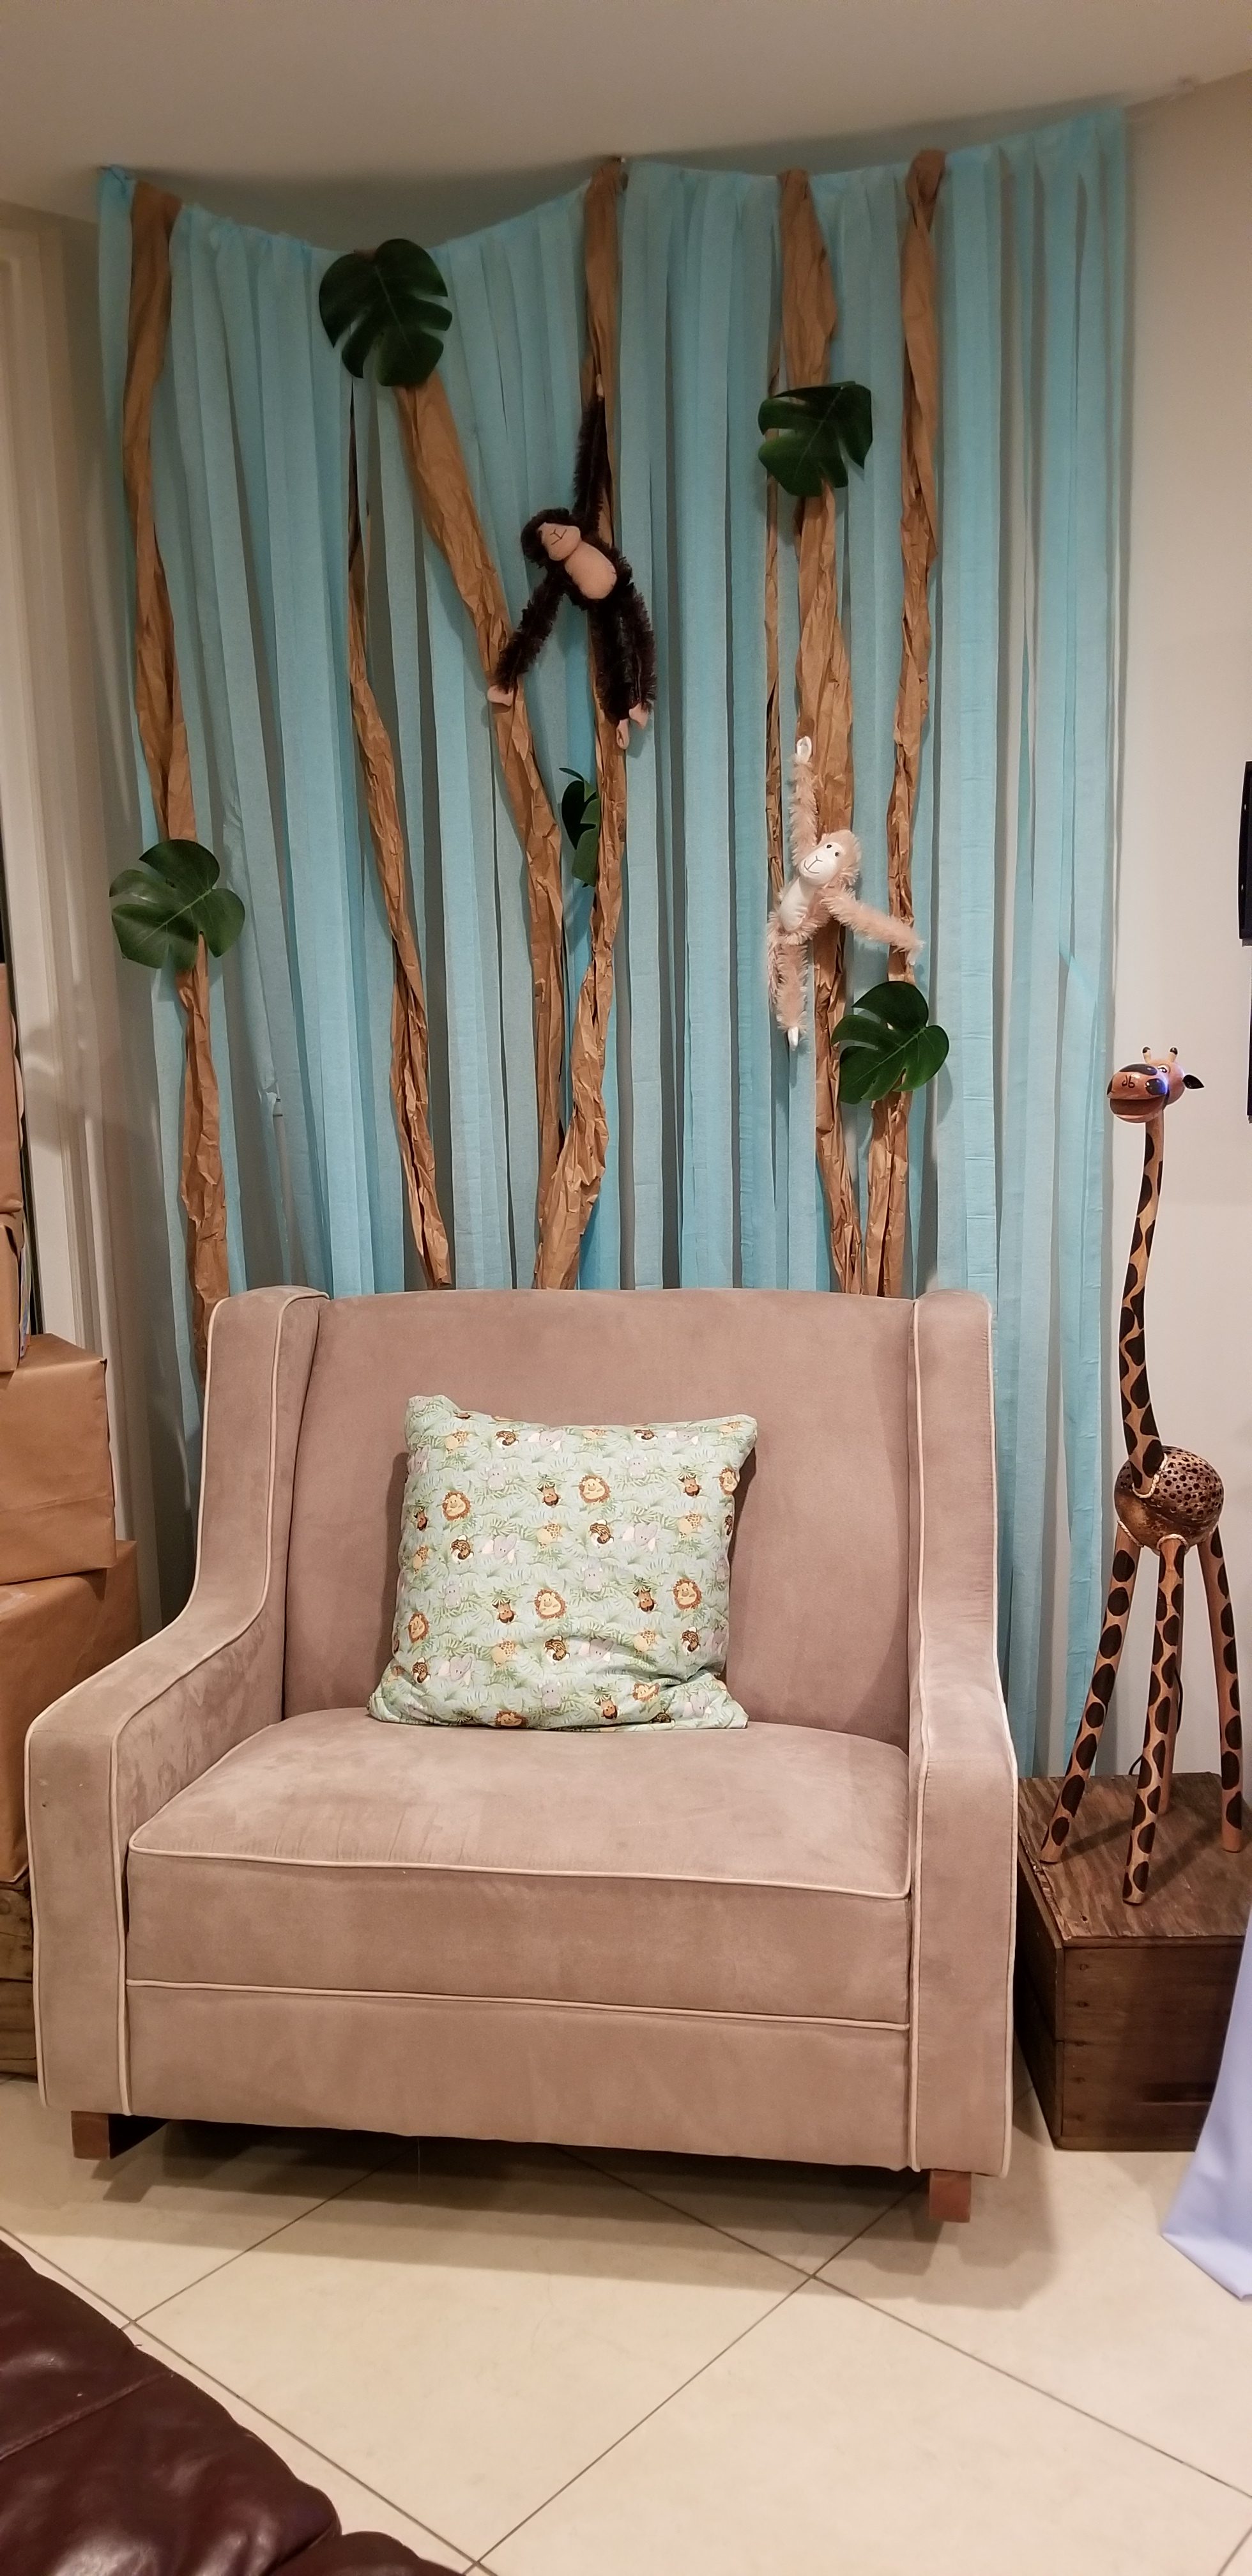
 

Pick A Party Theme


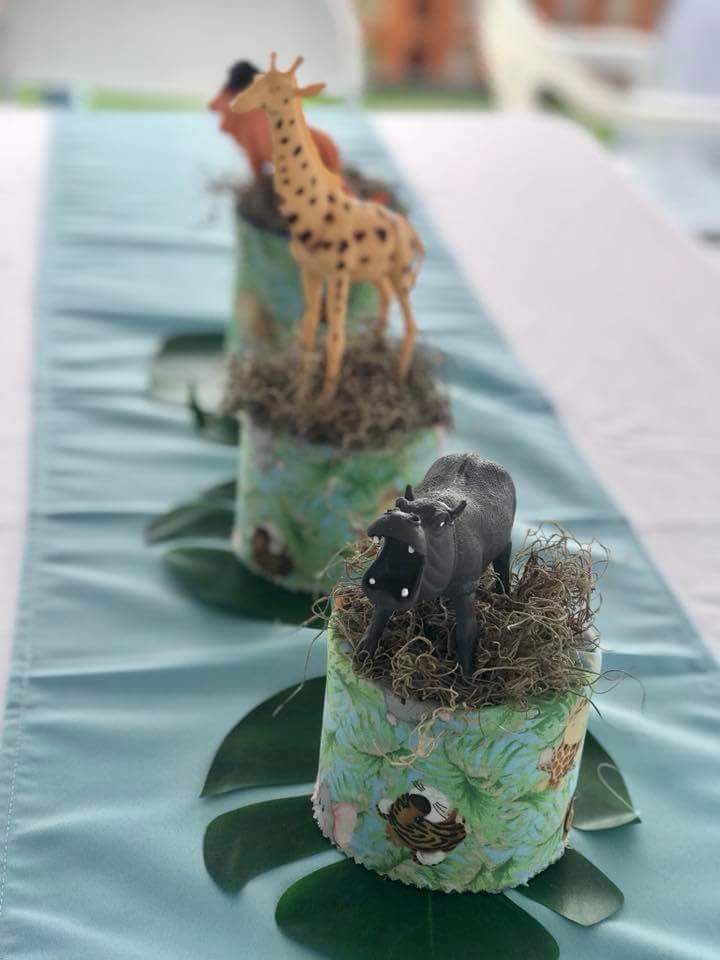
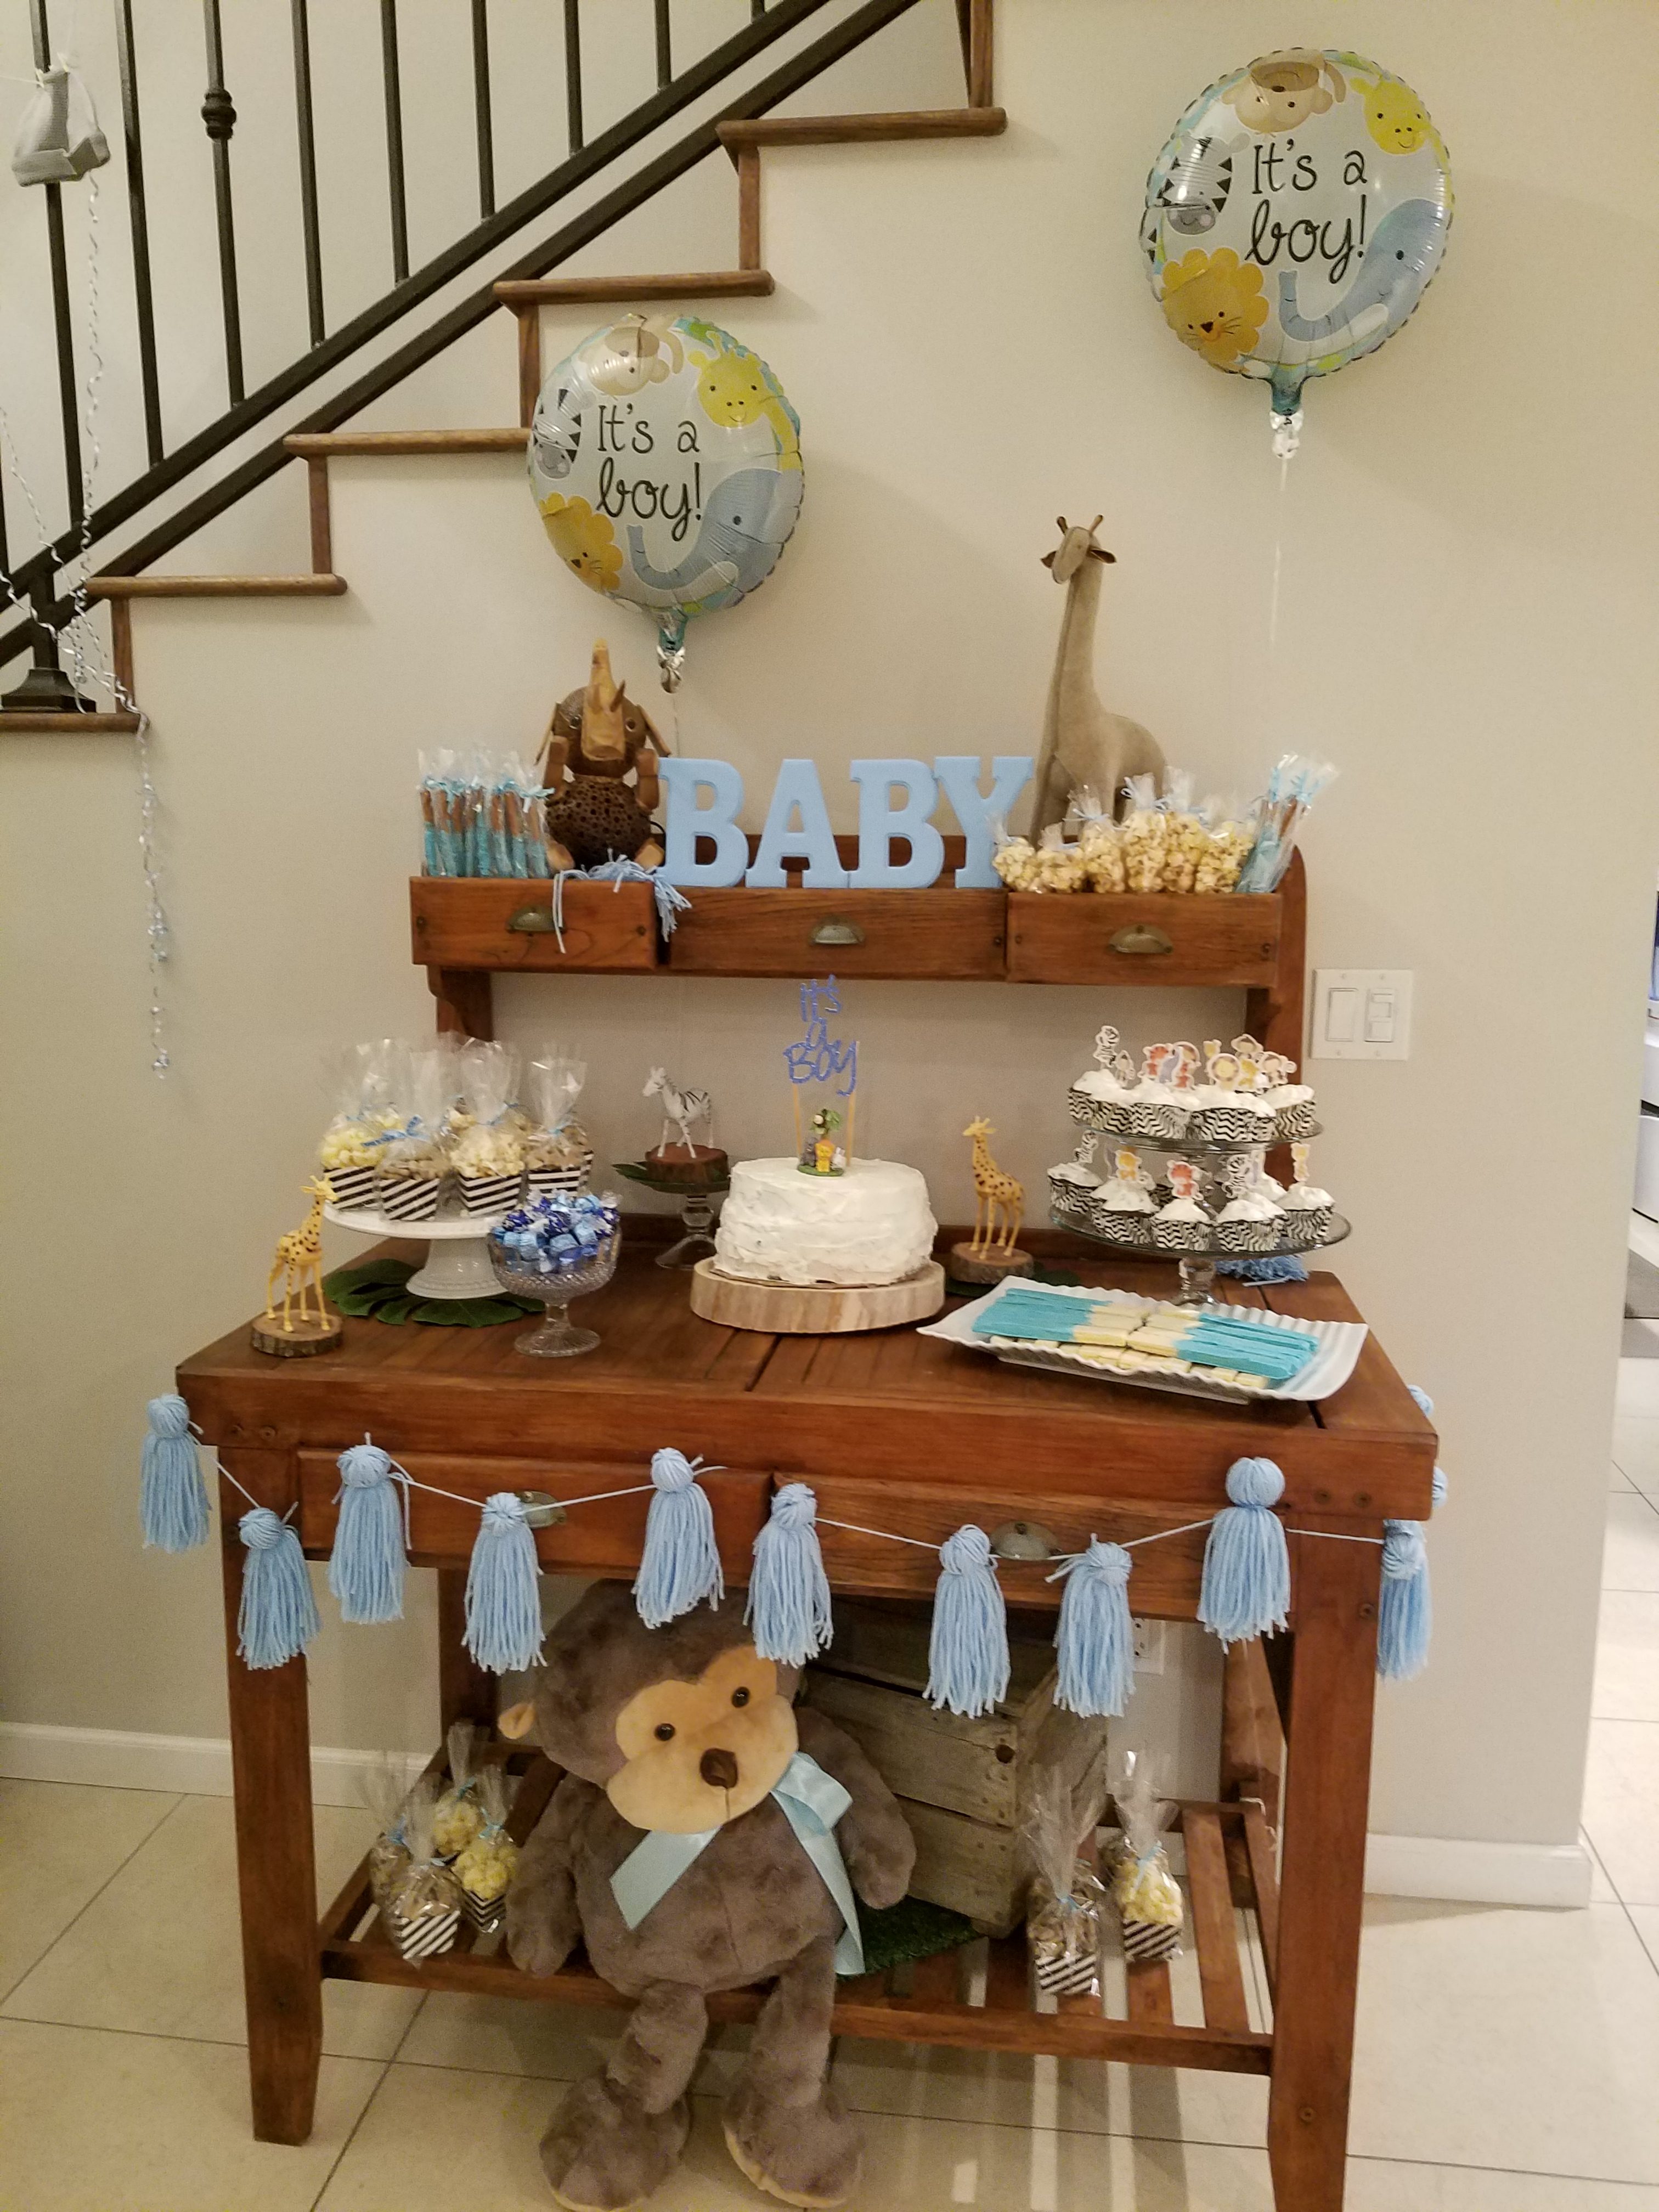
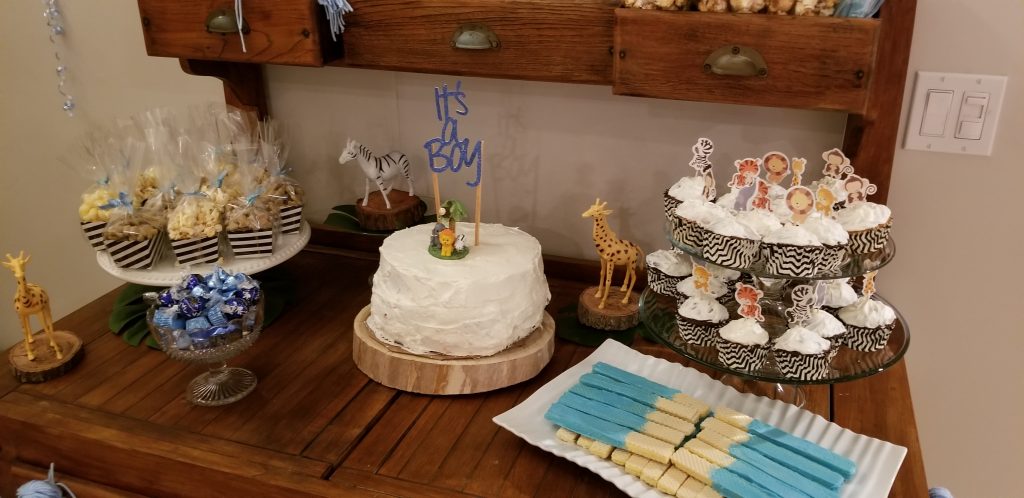
The cupcakes above I made for my friends “Safari monkey” inspired baby shower! I am a big fan of themed parties. I think every party is just that much more fun & looks well put together when there is a theme and or color scheme. Whether is is simply your decoration colors or the actual theme your guest should expect thru the event, either way start with selecting this first.
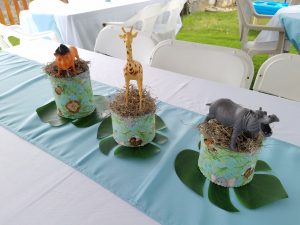
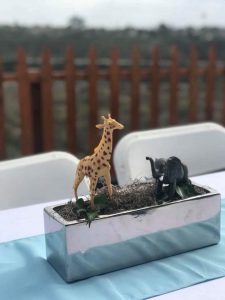
Set the table.

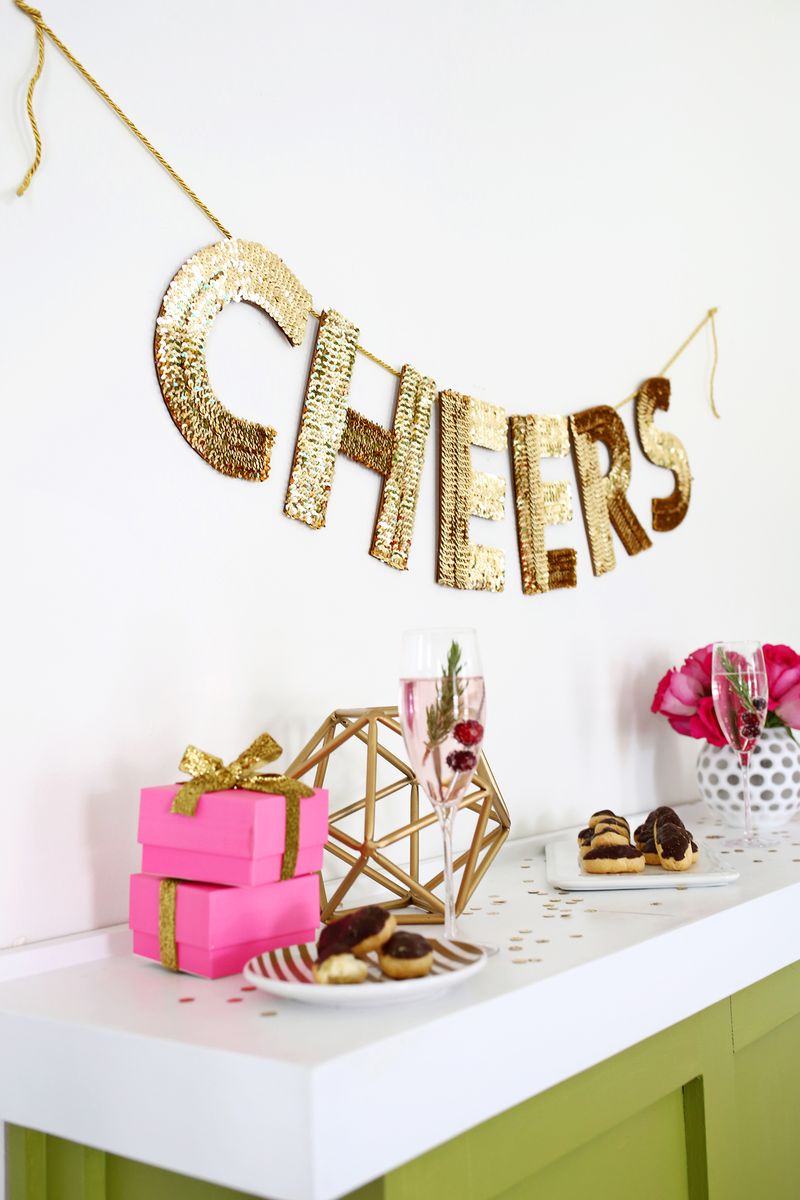
Decorate the table and cover it with fabulous cloth and add flowers and ribbons as an accent to the theme. Create platforms or place fabric-covered Styrofoam raiser boxes with different heights and shapes on which you can set up your desserts.

Choose a collection of containers.

Pick bowls, jars, vases, trays, platters, canisters and footed stands in combination of shapes and sizes. Scoops and spoons make the perfect accessory to a jar of lollies. Clear glass containers are great for holding colourful hard candies.


Labels & Proper Utensils

Use matching stationary, handwritten signs, chalkboard signs, and calligraphy to describe and name your delicious desserts if you have many different varieties. Also make sure to have proper utensils available if something needs to be served.


Sweet Selection.

Balance an elaborate cake with mini cupcakes, chocolates, cookies, and hard candies on the table. Some great dessert ideas include cupcakes with couture cupcake wrappers, truffles, personalized chocolate bars, cookie garlands, whoopie pies, pillow mints, malted milk balls, sweet tarts, rock candy, taffy, almonds, macaroons, cotton candy cone sticks, popcorn boxes, panacotta, centerpiece cakes, jelly beans, mints, fondant covered petit fours and gelato.


You can also include customized drinks!