Browsing Tag

wedding

DIY Tutorials, Entertaining, Wedding

Sequin Letter Garland DIY

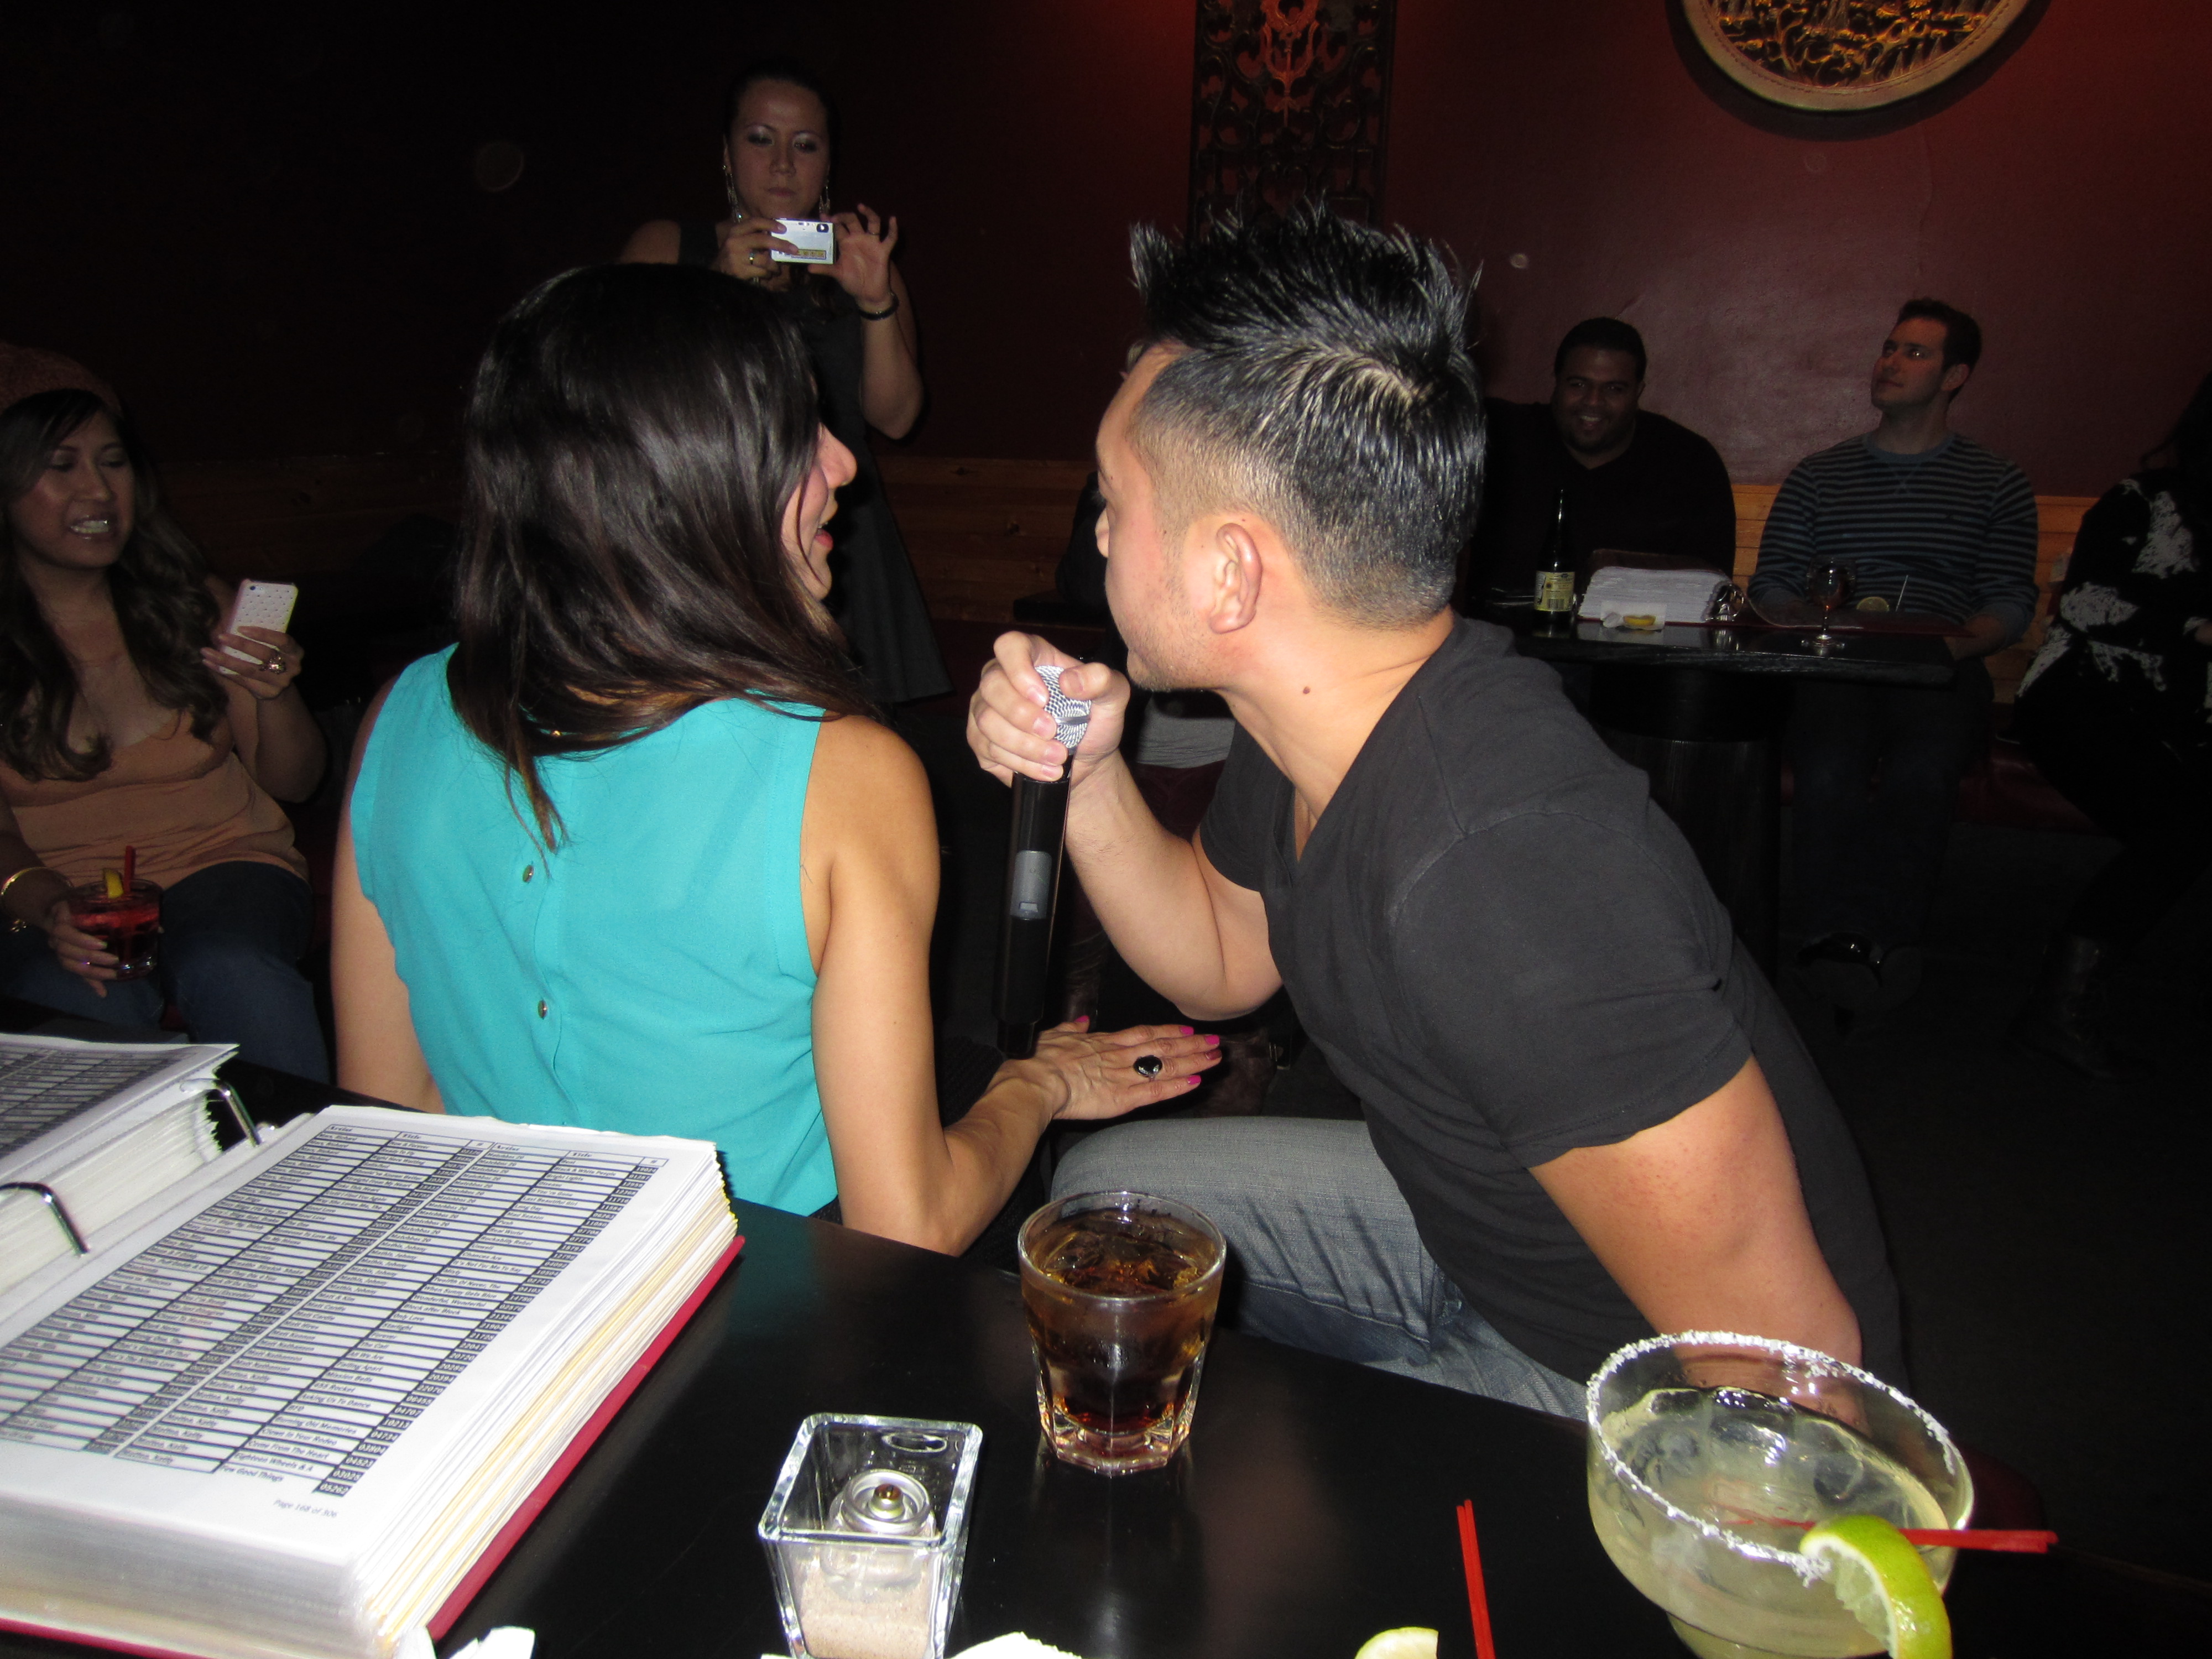
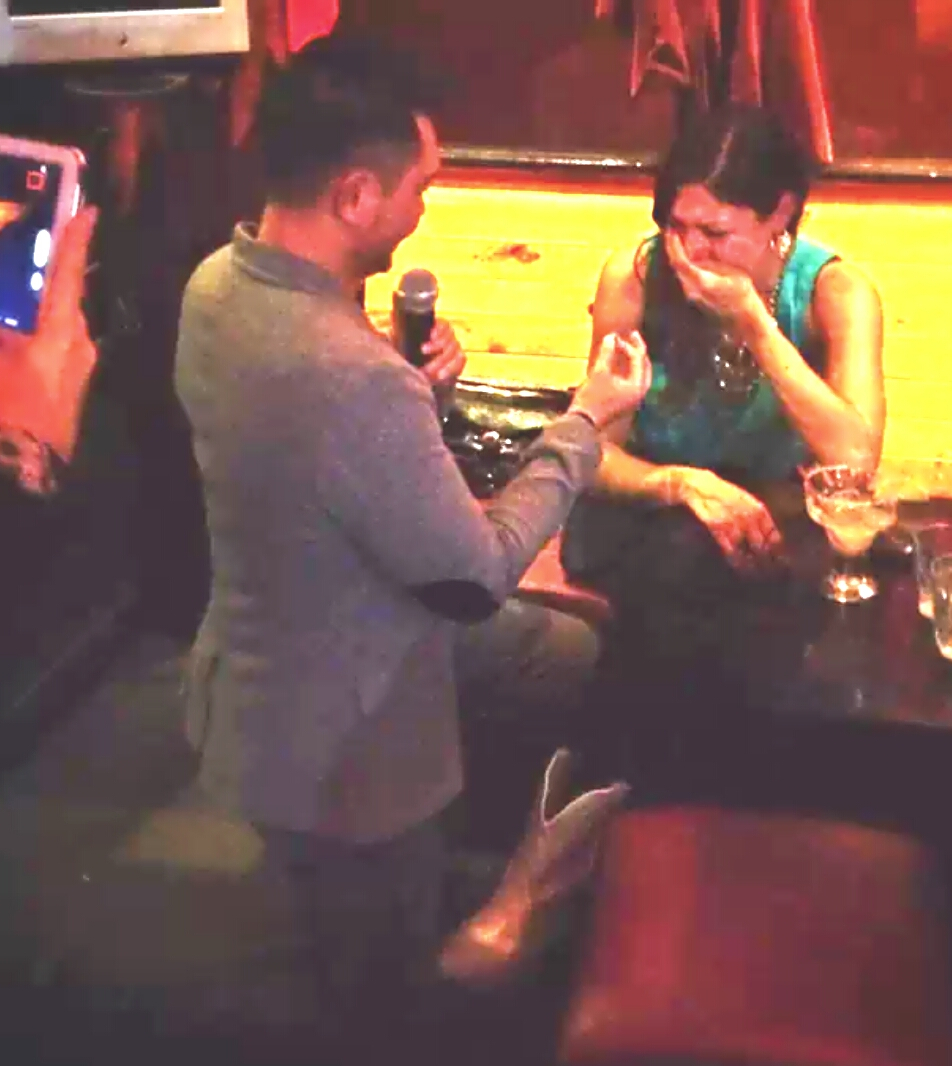
When it comes to throwing parties the more festive the better!In this post I teach you how to make your very own sequin letter garland one of many things I did as I was planning the biggest celebration so far… my own wedding! With that came a lot of planning, expenses and things that need to be pretty-fied! Since I had an ongoing complete home remodel my wedding needed some tender loving care full of a lot of DIY projects to keep cost low without loosing the festive and fun look I was going after. I am a Pinaholic and this DIY comes from a pin I saw originally on Beautiful Mess.

6a00d8358081ff69e201bb07b3d0e2970d-800wi

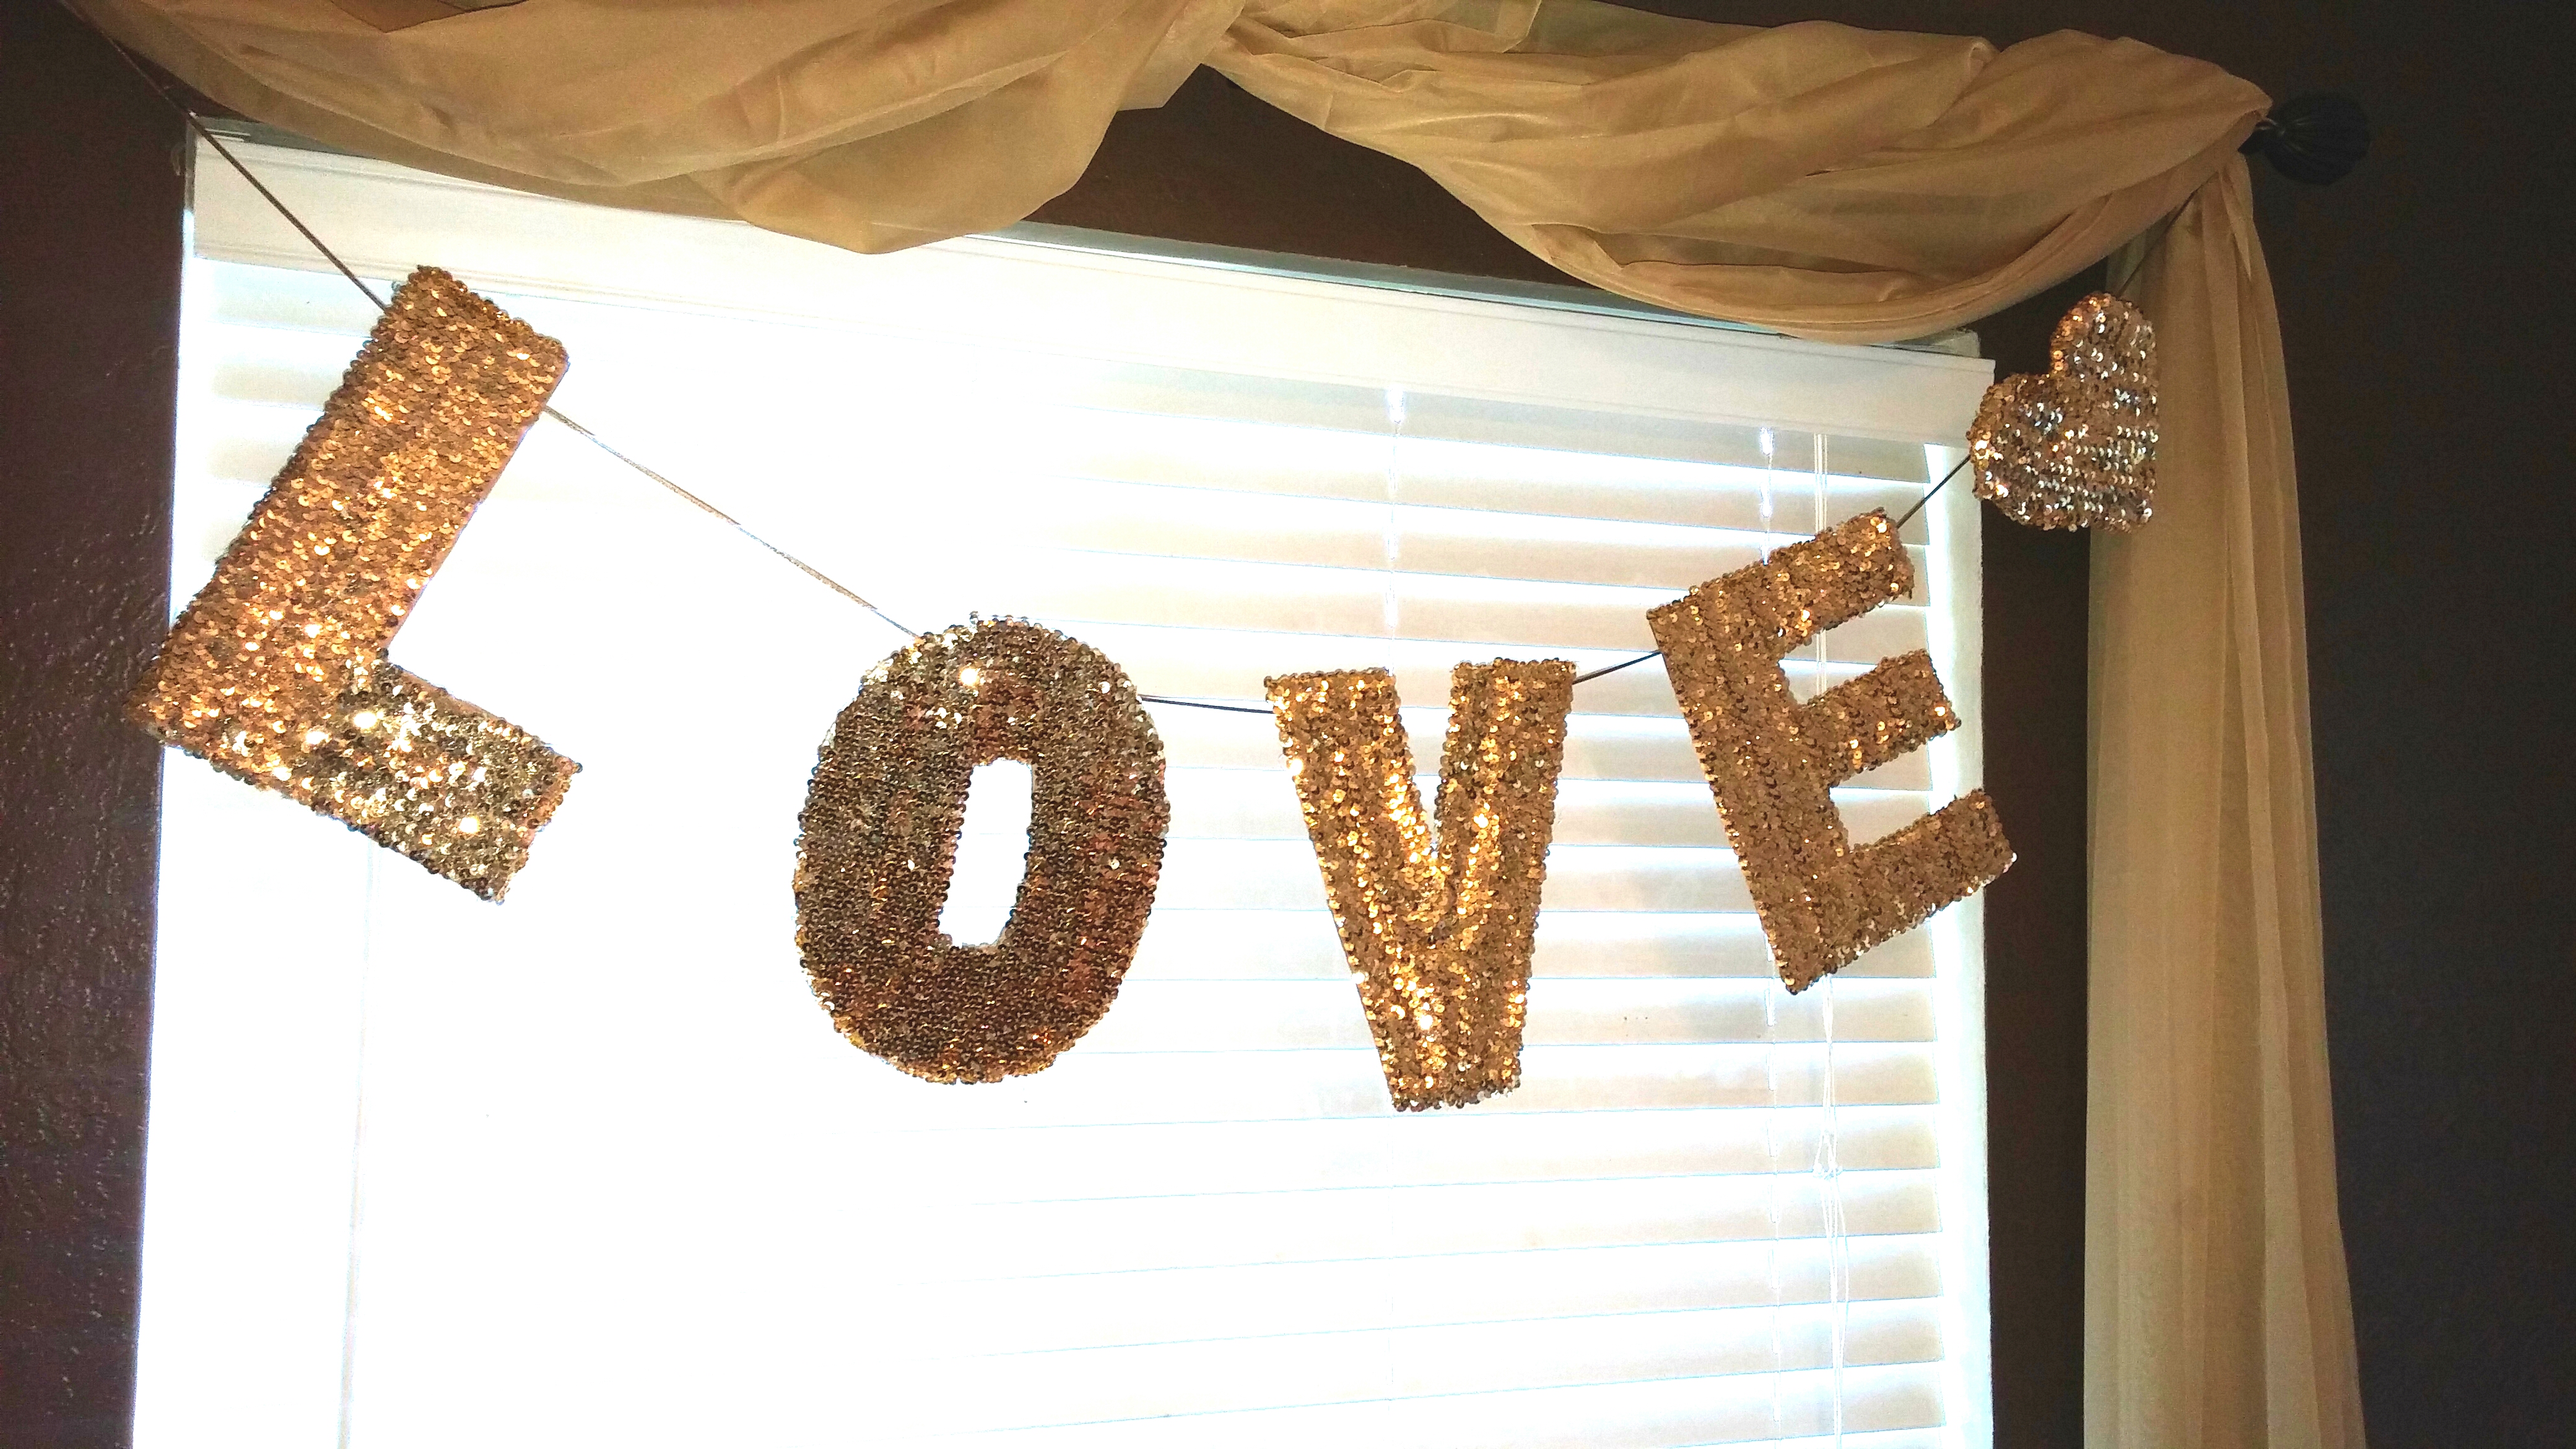
If you are a bride to be or simply someone who loves to entertain at your home this pretty and easy to do sequin garland will make any room look more festive. You can opt to change the phrase to whatever you would like. I selected the word LOVE as my garland. I plan on using this at my wedding possibly decorating either the dessert table or maybe a table with our pictures. Who knows, but I am sure it will make any basic table look better.

So first of I hit up my favorite craft store. Jo-Ann Fabric and Craft Stores. Make sure to check online for their coupons and simply bring in your phone. I had a 50% all items so I scored and saved a lot! Here is a quick list of what you will need


Supplies:
stretch sequin gold trim (I bought 5 yards. You can use any color of your choice)
-scrap cardboard ( go to the back of a grocery store or any department store to find some ready to be rescued)
X-Acto knife
hot glue gun
– Metallic Gold Trim of your choice.

20141225_172031

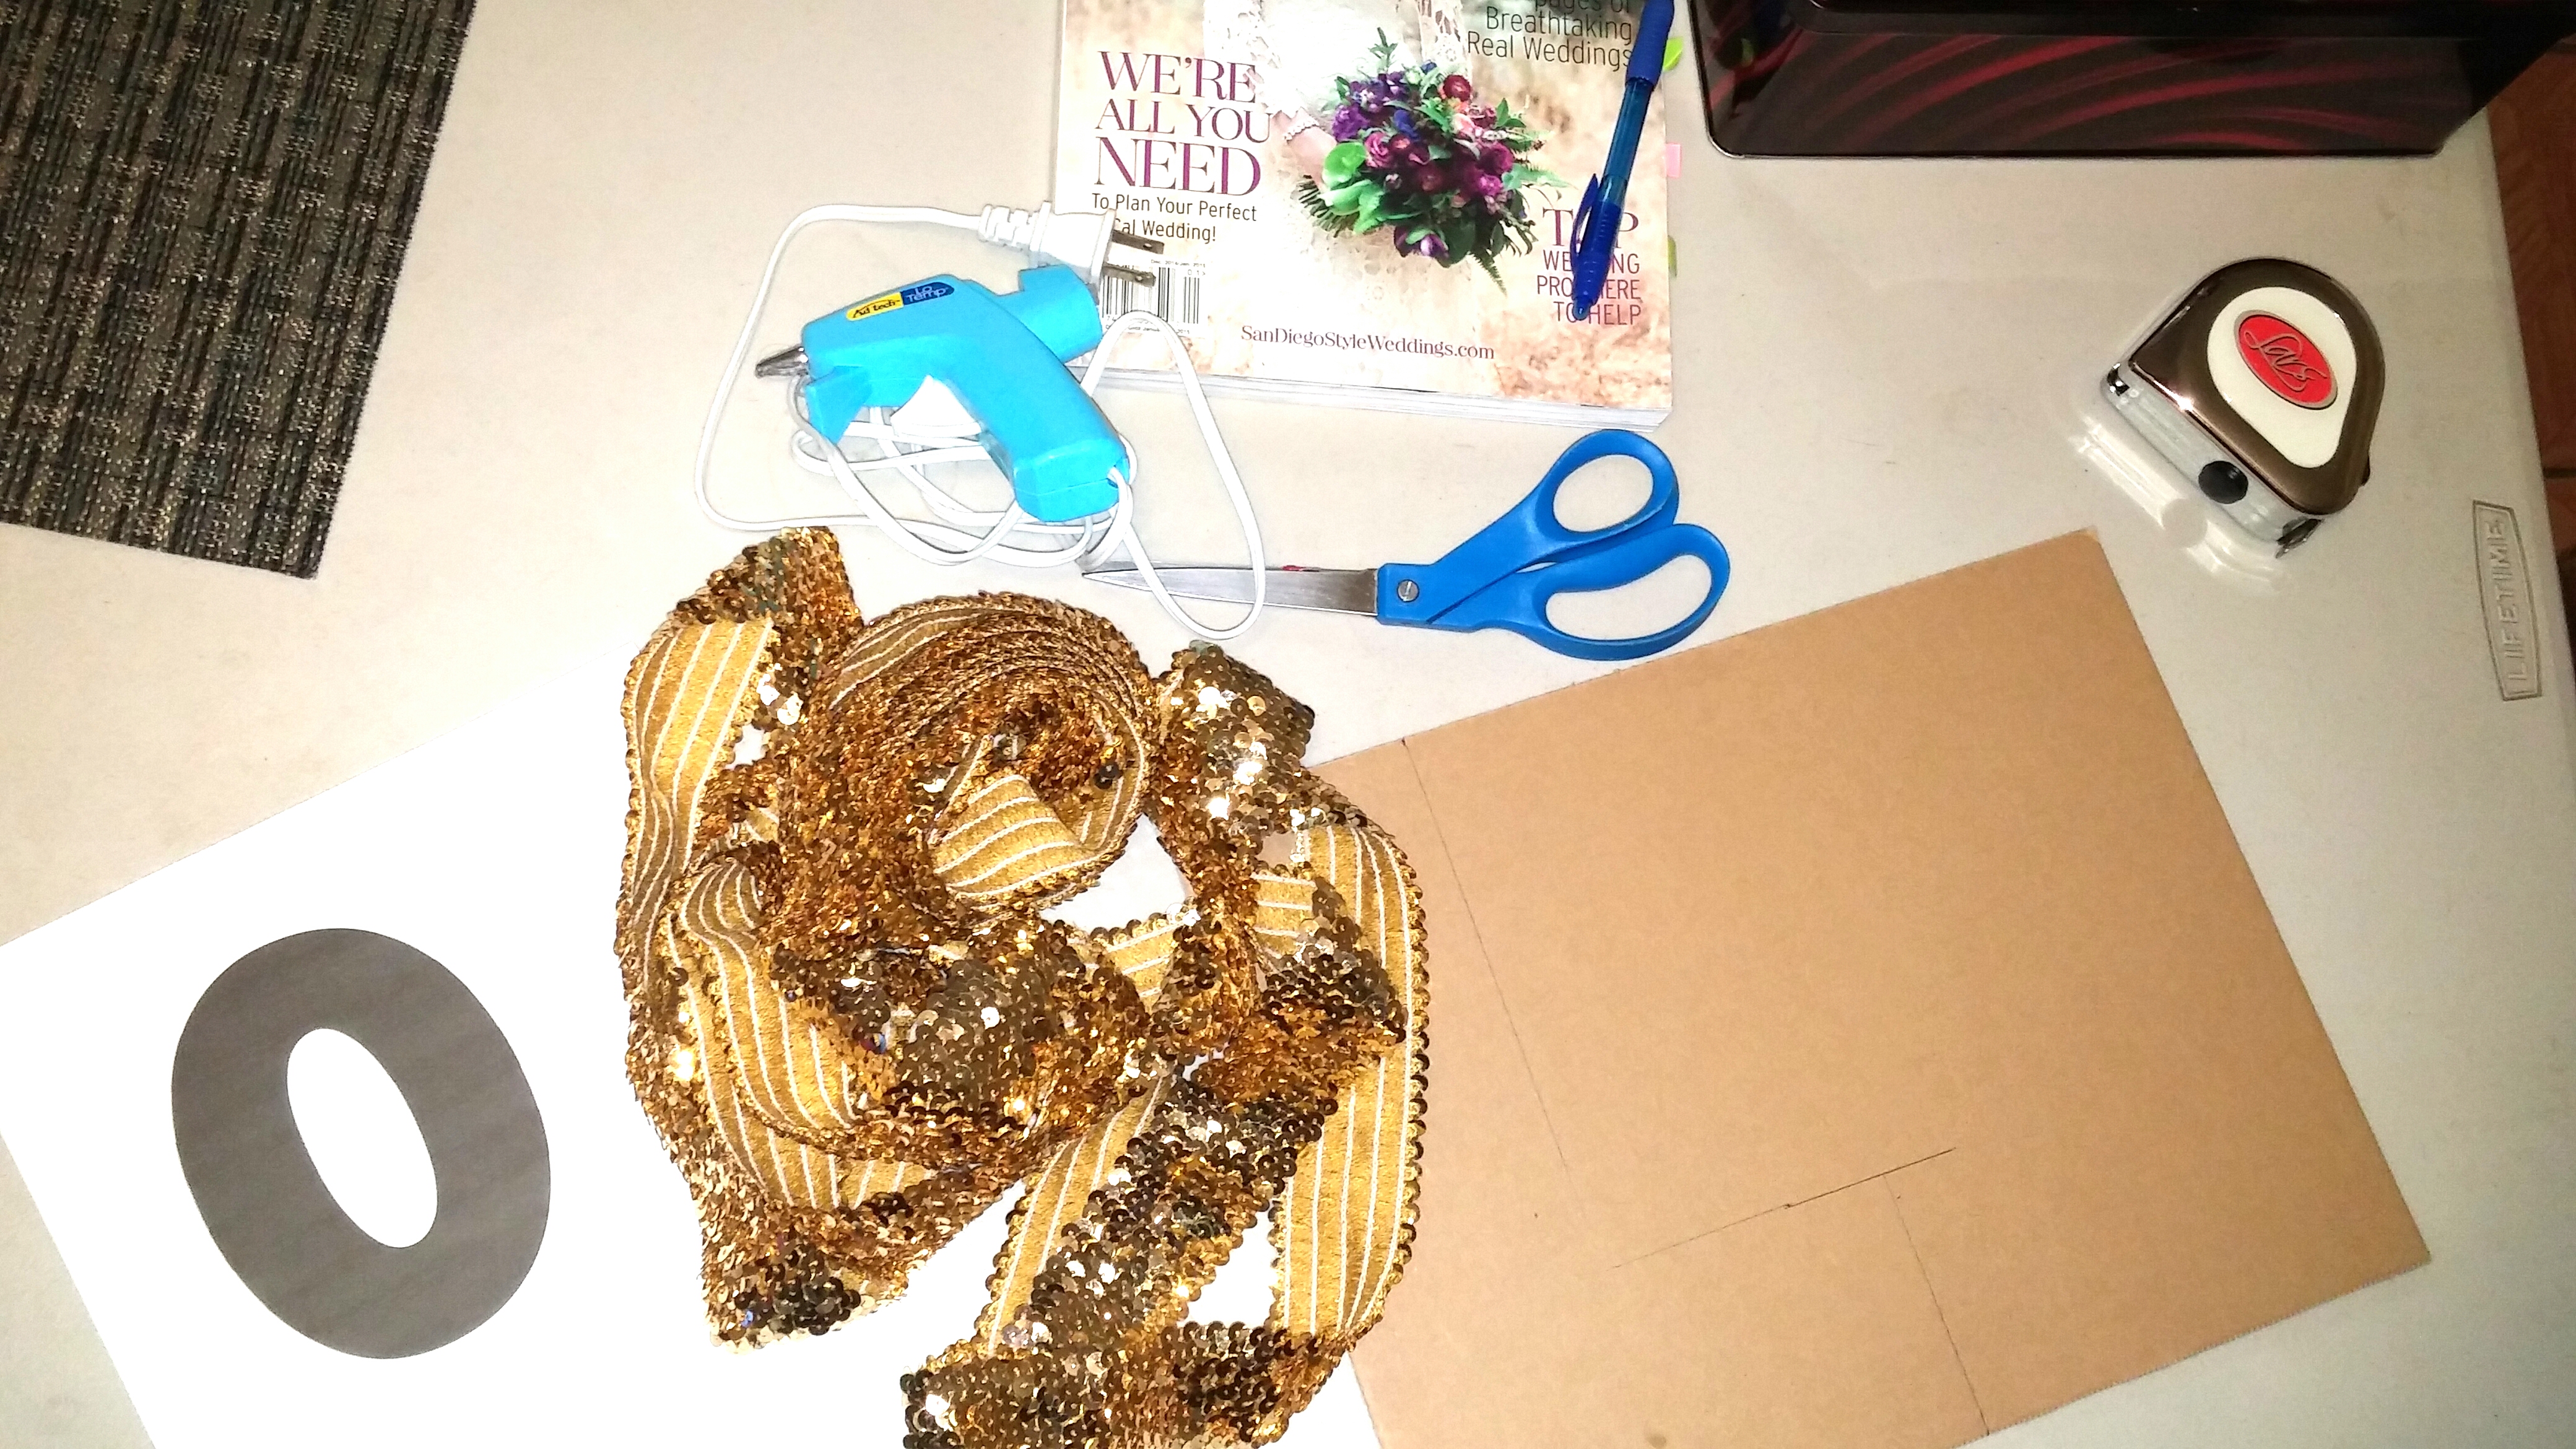
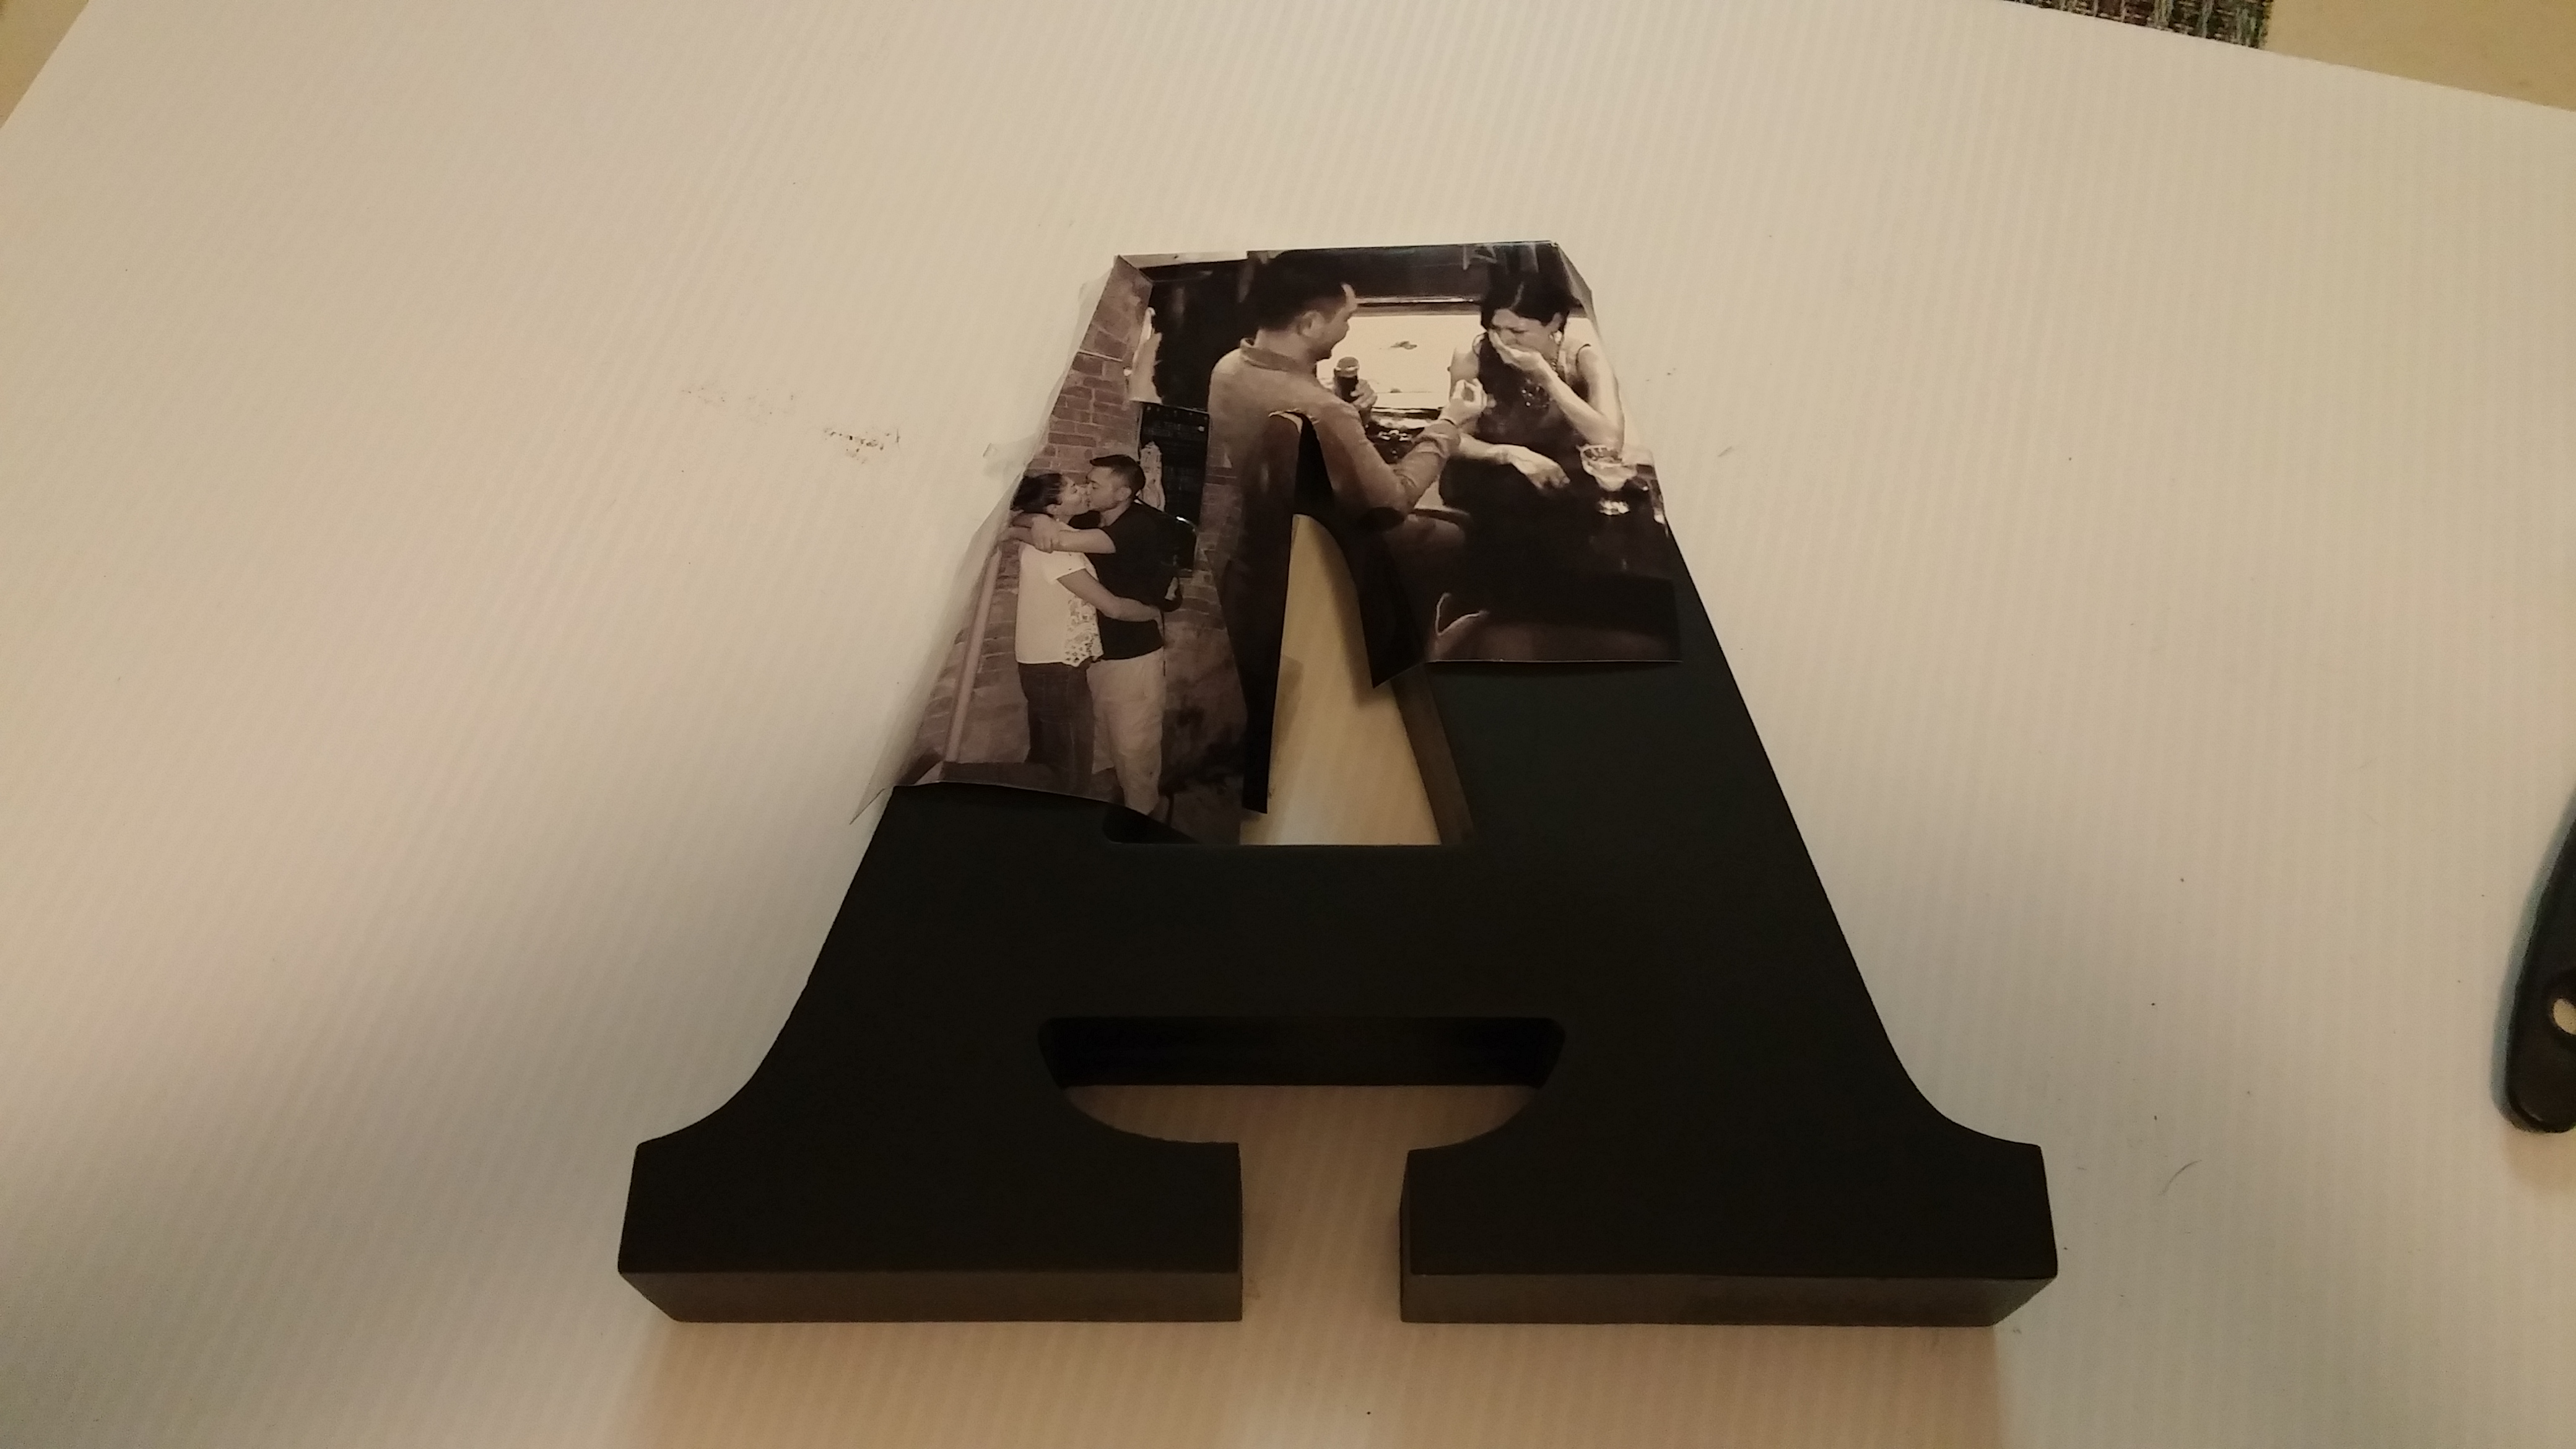
First you’ll want to print each letter in your phrase so you can use it as a template. I used Photoshop to be easier than Microsoft Word. Photoshop allows you to easily set the font size. I chose to make my letters 10″ x 4″ in width. My sequin that I bought was 2″ thick so the trim would nicely fit in two layers. Tape each letter to your scrap cardboard and cut out the letters with an X-Acto knife. As your template.


20141225_17205720141225_183236


To make the ends of the trim look as neat as possible, you’ll want to fold and glue the ends under so the trim doesn’t unravel and drop sequins. I learned this by making a mistake on the first letter I made. So, at the end of the outside edge of your letter, use the hot glue gun to glue the trim end face down going away from your letter.

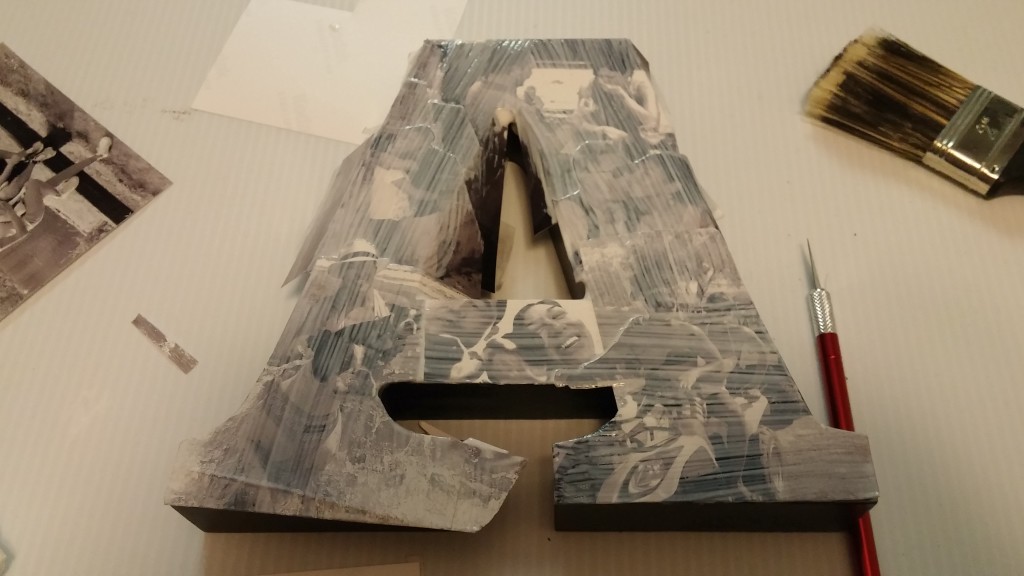
Fold the trim back the opposite way and continue to glue the trim all around the outside edge of the letter. When you reach the other end, cut the trim so it hangs a little past the end, fold the trim under and glue in place.

Very important: Make sure both lines of trim are going in the same direction so they will look more like one piece instead of two.

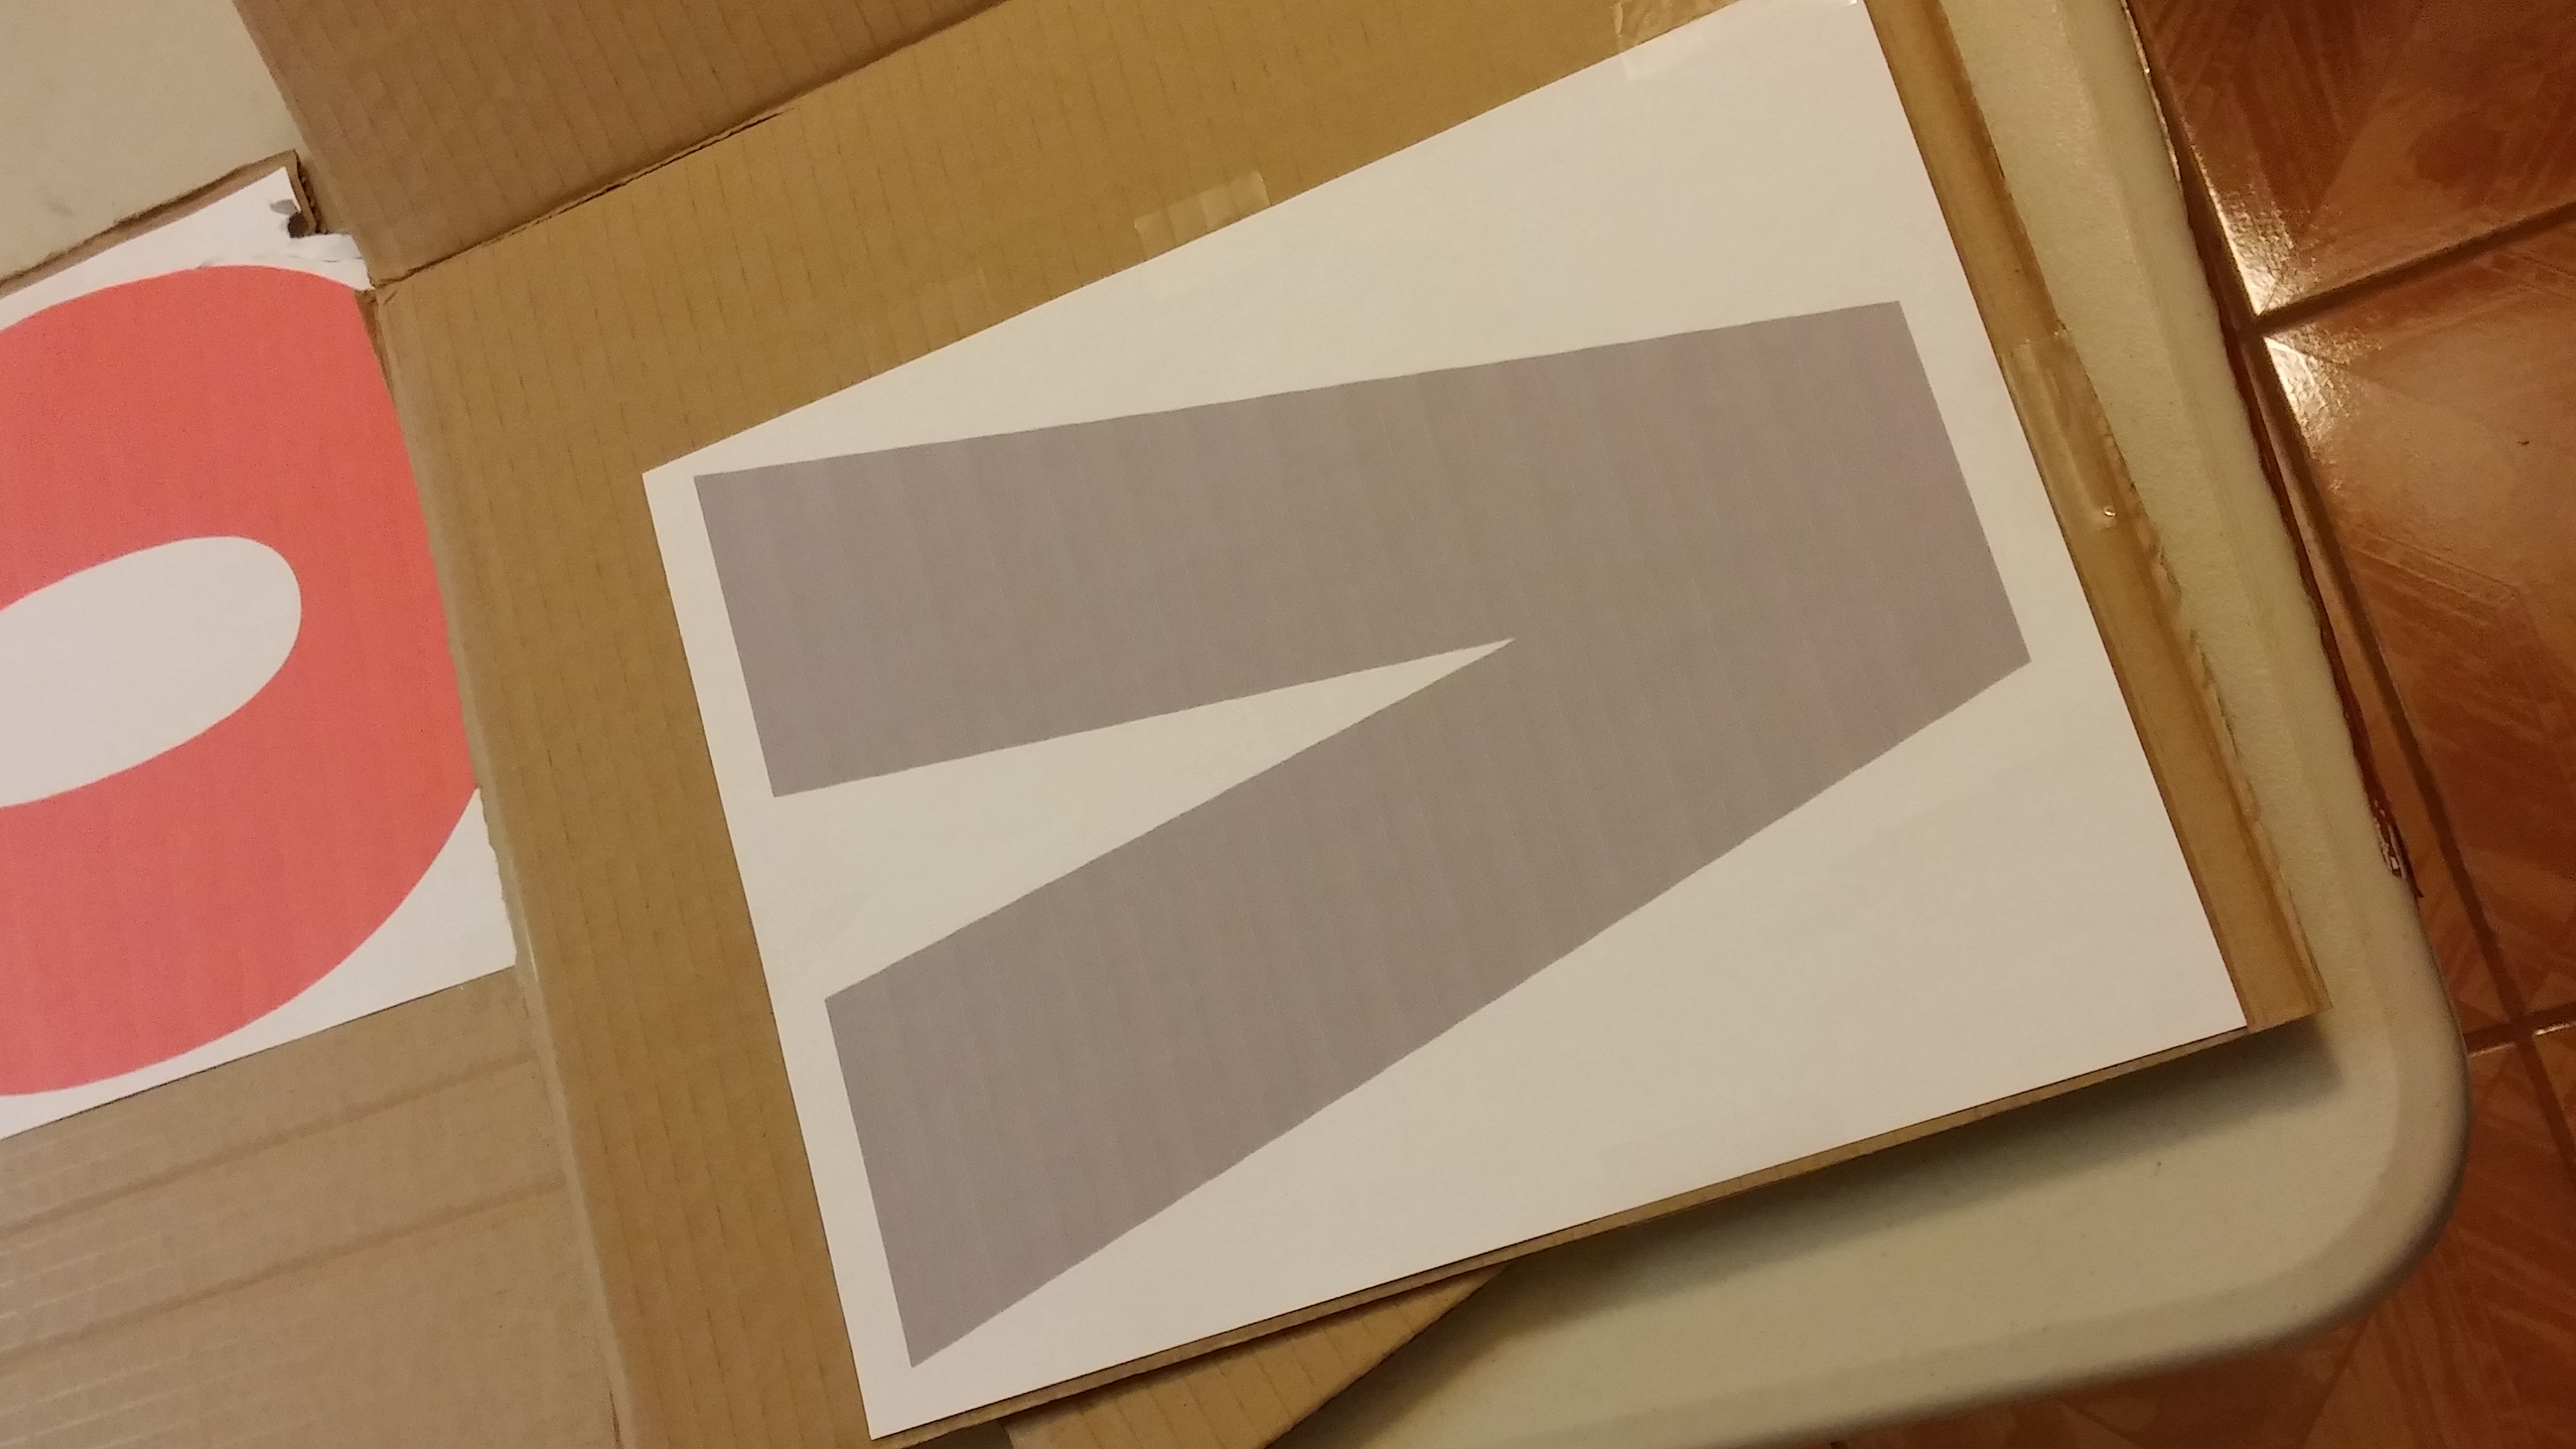
If you have a letter with intersections, don’t worry about doing the folds on places where you can cover those ends with another row. So on the “V” I just cut and glued the middle horizontal lines, then covered those cut ends with the vertical lines that had folded ends.

Once you have all your letters completed, you can line up your phrase (backwards of course!) and glue your hanging cord to the back of the letters. Once the glue sets, you’re ready to hang your garland!

20141227_14074020141227_134949

sweetlove
Did you try it and make one? Share with us what phrase you made! xoxo- Adriana

Love & Marriage, Wedding

Our Engagement Photos San Diego

Loved our engagement photo shoot with Dan Rice Photography! Here are some of our favorites!

Nguyen-eng060

http://casadewinn.com

http://casadewinn.com

http://casadewinn.com

http://casadewinn.com

http://casadewinn.com

http://casadewinn.com

Nguyen-eng010


Nguyen-eng012 Nguyen-eng040

Nguyen-eng003

http://casadewinn.com

http://casadewinn.com

http://casadewinn.com


http://casadewinn.com


Del Mar Dog Beach – San Diego, California

http://casadewinn.com

http://casadewinn.com

Nguyen-eng100

http://casadewinn.com


http://casadewinn.com

http://casadewinn.com

http://casadewinn.com

Nguyen-eng172

Nguyen-eng182 Nguyen-eng086 Nguyen-eng189 Nguyen-eng081

Nguyen-eng074

Nguyen-eng075

My Ring

Nguyen-eng164

Nguyen-eng159

Location:Marian Bear Memorial Park La Jolla, CA   and Del Mar Dog Beach.

Hair: Blo Blow Dry Bar 

Photographer: Dan Rice Photography

Makeup – Me, Myself and I 🙂 Laura Mercier silk creme foundation, NARS Orgasm blush, Diorshow mascara, forgot my lipstick color!

Outfit Fields: Gold sequin bodycon dress Tobi

Outfit Beach: Abercrombie & Fitch lace dress.

His Outfit Fields: Distressed Levi bootcut jeans.

His Outfit Beach: Abercrombie & Fitch cargo shorts & tee.

Boston Terriers: Homemade collars.  Bow tie was bought at WalMart kids section.

DIY Tutorials

DIY Photo Monogram – My First PINTEREST DIY!

So excited to share with you my DIY Photo Monogram! Like many of you I am addicted to Pinterest and constantly find things I want to make, cook, have, buy,  and do on there! I finally got to work and (got my fiance to work) and was inspired by these photo collages to use it at my upcoming wedding. Not sure yet where it will be displayed, but who doesn’t love pictures! DIY Photo  Monogram

So here is my take on a very simple easy to follow and sure to please anyone Picture Monogram.

I scored these beautiful think hardwood letters at my local Marshalls. I had been scouting their home décor section for a while and finally came acorss an “M” and an “A” for $5.99 each! Once in hand all the other supplies were easy to get.

Supplies:

First thing you will want to do is spray paint the wood letters black. I chose black so that when you cover it up in black and white photos you will be less likely to see the little spaces in between each picture. I like to use Rust-Oleum spray paint. I have found this to work the best.

20150101_145013


Second step – gather all of your material. Lay out all your pictures, your dry letters if you spray painted them and all other things you need.

20141227_142534


Third step – you will want to plan out your picture layout. Treat it like a puzzle. Pick and chose which pictures you want to display and approximately where they will go once you are pretty content with the placement begin cutting using your X-Acto knife and scissors. Add a layer of Mod Podge adhesive to the back of the pictures.

20150101_173526

Forth step – once you have all the pictures cut and glued down where needed you will seal it with the Mod Podge. I chose the gloss finish so that when dry you can have it reflect light better. Let it dry.20150101_182504

That is it! Wah-lah!

DIY Photo  Monogram


You have beautiful personalized monogram letters. Perfect for any display! I can see this being used in a home office, a babies room, at a party, you name it! You can also make numbers say for a babies first birthday! Enjoy. xoxo- Adriana


Love & Marriage, Wedding

How to take timeless engagement photos

How to take timeless engagement photos is something some of us strive for. I mean how many times have you come across an old photo of your parents or an old wedding photo and thought “WTH were you wearing?” I admit I have. I have also come across old photos of them or my grandparents and still look at them and believe they are beautiful. I do not consider myself to be very fashionable. In fact I think I lack a lot of fashion sense and often times I dress for comfort more than I do to be “in” on a fashion trend, but it doesn’t mean I care to look like a slob! I love nice well fitted clothes and well made shoes. So the stress kicked in when I realized I had to plan my engagement pictures and live with them for life! I wanted a look that I can look back 20, 50 years from now and think “wow we looked elegance
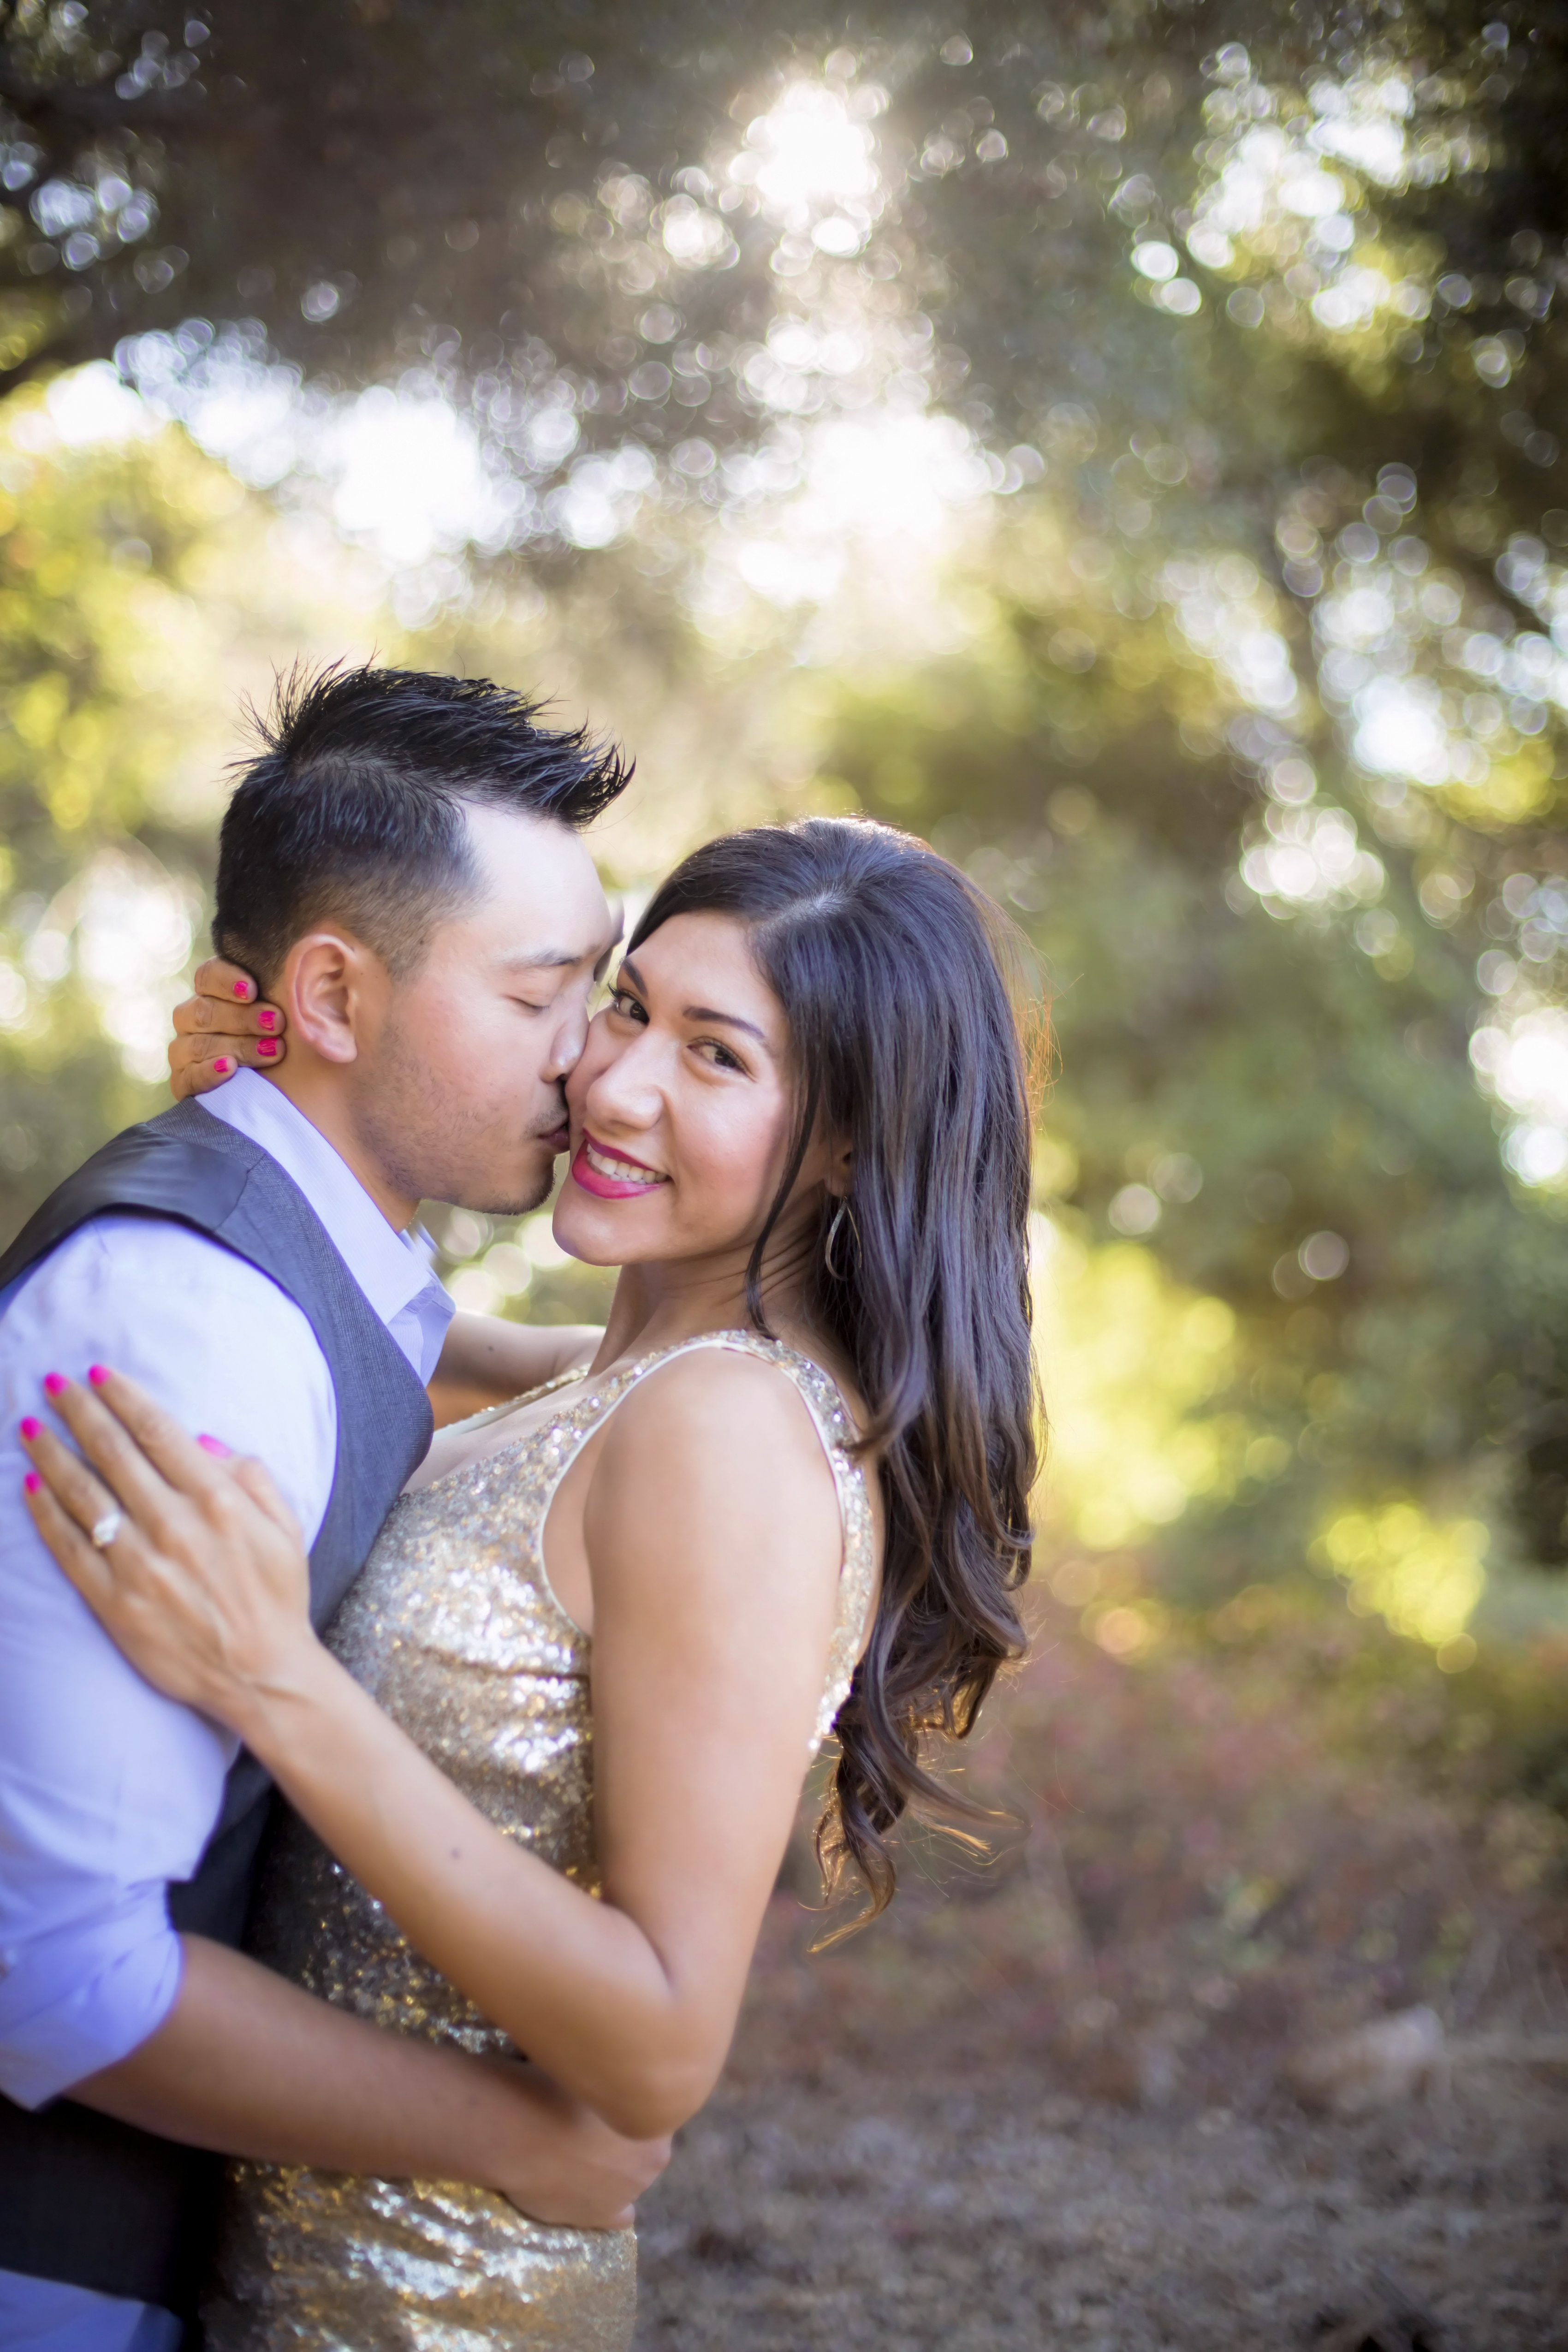
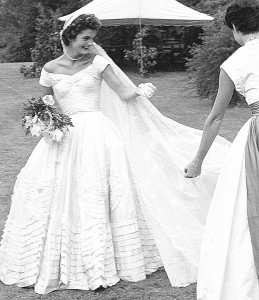
great!” I want to capture the moment of who we are and how we are right now. One of my fashion icons is Jacqueline Kennedy. Look at her wedding day look! Still looks good!

Engagement pictures can go and be done many ways. I have seen many beautiful pictures taken! Some are funny, use props, dramatic, formal, casual, with kids, with pets, you name it! Most importantly you have to do what YOU like and what showcases you and your fiancés personalities and preferences.

Here are some pictures showcasing different styles!


Casual & Symbolic Hometown  

raulmeriann

With Pets

 Nguyen-eng055 

Formal

10734095_10152648260684667_8747005869635229965_n


Cultural 


390899_10150555509908804_1575547850_n


So determine the following for yourself….

  1. What is your style

Are you and your fiancé people who love to snuggle up in sweats and watch football on Sundays? Go on hikes together? Dress up and enjoy a five star dinner? This helps you determine who you are and what style photos to take. Biggest mistake to do is to take photos that are not very representative of you. If your friends and family know you as the couple that love to spend weekends at the park and bbq the it may be weird to take engagement photos in a 3 piece suit at a museum smoking a cigar and drinking champagne….

  1. What to wear

Look good, but look like yourself. I find it very interesting who people take engagement pictures and wear things that they would never wear on any other day or party. Wear what you feel the most sexy and confident in. Look good and do not be afraid of being cheap. These photos will forever be showcased in your home and in your story. Wear something you already own and love maybe a favorite watch or shoes or jersey. Buy a new outfit or rent one on sites like RentTheRunway. Ladies…. Do not cake on the make up! Professional photos are less forgiving on our skin and wrinkles so every little crease is noted and every layer of make up and powder you use is also noticed. Either lay it off or get your make up done professionally using airbrush make up. I got my hair done professionally, but since I have never been one to wear a lot of make up I decided to do it myself and wear my signature red lipstick. You chose what is best for you.

  1. Favorite Places & Things!

For me it was easy. We love our dogs, we love the beach and he loves his hometown of New Orleans! We took our engagement photos at Del Mar dog beach in San Diego with our two Boston Terriers and in New Orleans. We also took a very whimsical dreamy shoot at a park in La Jolla. Click here to check out our full engagement photo session. Our Engagement Photos

xoxo – Adriana


Love & Marriage, Wedding

We’re getting married- Setting your wedding date

We’re getting Married!!

Last December 6th 2013 my friend of 8+ years, boyfriend of 3 years proposed to me in front of a few dozen friends after serenading me with the Back Street Boys song “My Love Is All I Have To Give”… I know cheesy song, but hey we were at a karaoke bar with limited choices!

IMG_9590

What was supposed to be a farewell party turned into much more than that! We had decided months before to make a move from our East coast single life to move out west to be closer to family and start a family of our own. Still, I wasn’t expecting the proposal that night and in that sort of a way, but knowing how Mark is a romantic and strives to always top what one would think is already great…of course he would propose to me in that manner! This proposal took us through a whirlwind the next 12 months. Including setting a date and planning a wedding!
WhenHeasked

I had plenty of time to set a date and plan. Here are some things we considered when setting a date and planning a wedding.

  1. Get married when your are ready.

There is no rule as to when you should set a formal date to have a wedding. Many couples feel there is a certain expiration date as to when to set their wedding date and end of rushing into it and others well… still haven’t set one. Set a date when it is right for you. Many of us have a lot of financial responsibilities to pay for and do not have the luxury of having the bride’s family pay for everything. Maybe you just got a new job and planning a wedding is the least important thing for you at the moment. Or you may want to wait to have your celebration when your kids can be a part of the big day. At the end of the day there are no rules and a wedding date should be set when both of you feel comfortable with it.


  1. Wedding is for you AND your family

Often times we hear that future brides and grooms shouldn’t care too much about everyone else and should make decision that are in their best interest…true I agree, but with that said we believe it was in our best interest to have our wedding during a time where those people we love could attend. What would a wedding be without loved ones surrounding us anyway? party

So knowing we had many friends and family who would need to travel from afar to attend and bring their children we decided on a summer wedding when San Diego weather is at its best and when those attending could take advantage of summer vacation time to come and stay for a few days. Can’t have a wedding dance floor empty!

So our wedding date? August 8th 2015 … 08/08/2015. (2+0+1+5=8)

#MarkMarriesAdriana    #TheNewlyNguyens    #08082015  #SummerWedding

xoxo-Adriana