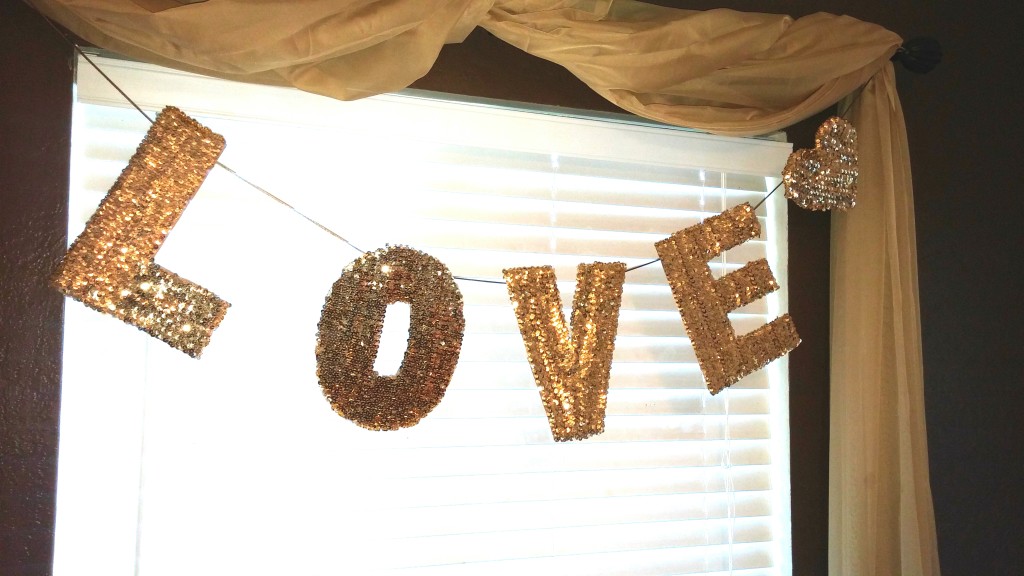
When it comes to throwing parties the more festive the better!In this post I teach you how to make your very own sequin letter garland one of many things I did as I was planning the biggest celebration so far… my own wedding! With that came a lot of planning, expenses and things that need to be pretty-fied! Since I had an ongoing complete home remodel my wedding needed some tender loving care full of a lot of DIY projects to keep cost low without loosing the festive and fun look I was going after. I am a Pinaholic and this DIY comes from a pin I saw originally on Beautiful Mess.
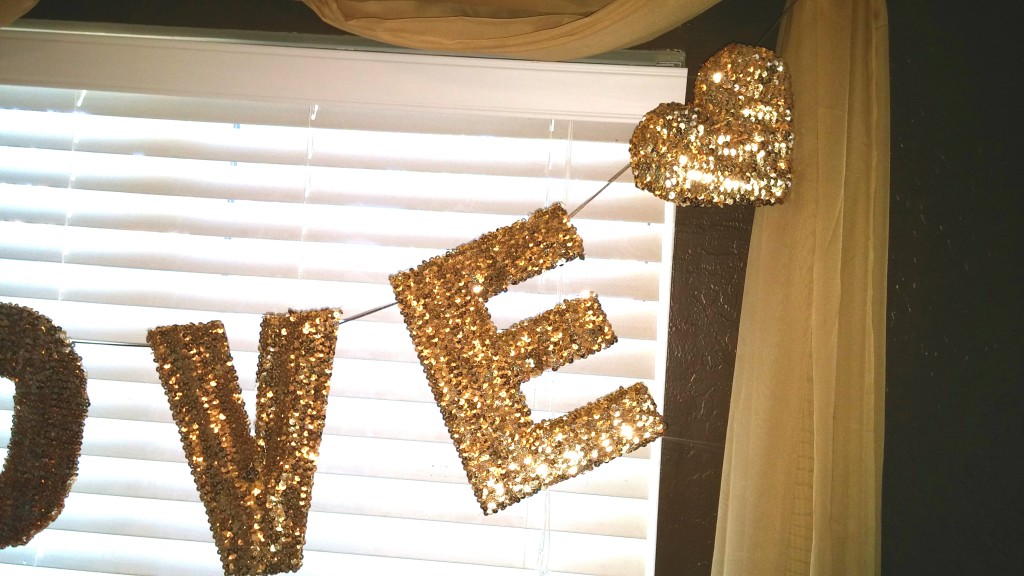
If you are a bride to be or simply someone who loves to entertain at your home this pretty and easy to do sequin garland will make any room look more festive. You can opt to change the phrase to whatever you would like. I selected the word LOVE as my garland. I plan on using this at my wedding possibly decorating either the dessert table or maybe a table with our pictures. Who knows, but I am sure it will make any basic table look better.
So first of I hit up my favorite craft store. Jo-Ann Fabric and Craft Stores. Make sure to check online for their coupons and simply bring in your phone. I had a 50% all items so I scored and saved a lot! Here is a quick list of what you will need
Supplies:
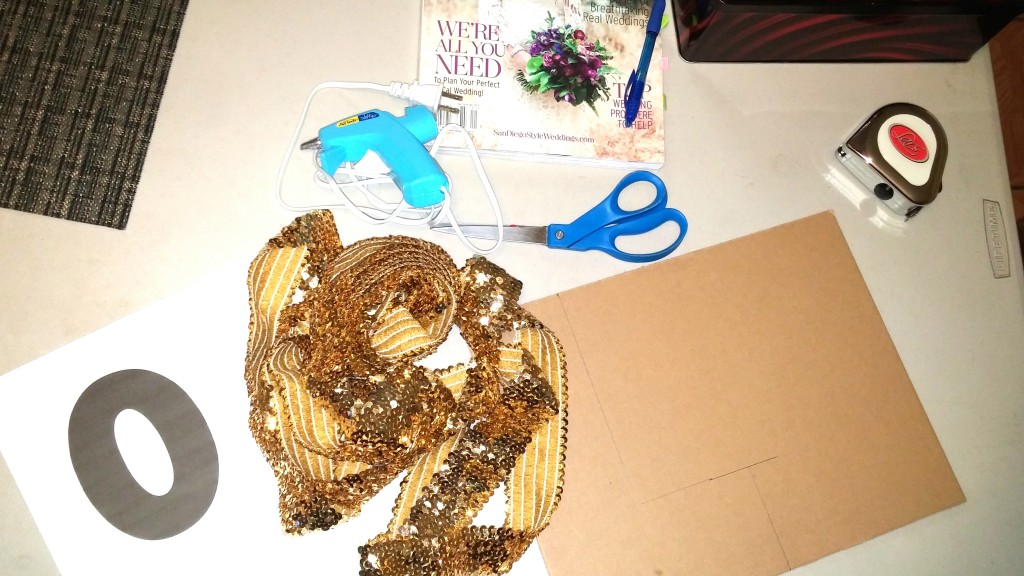
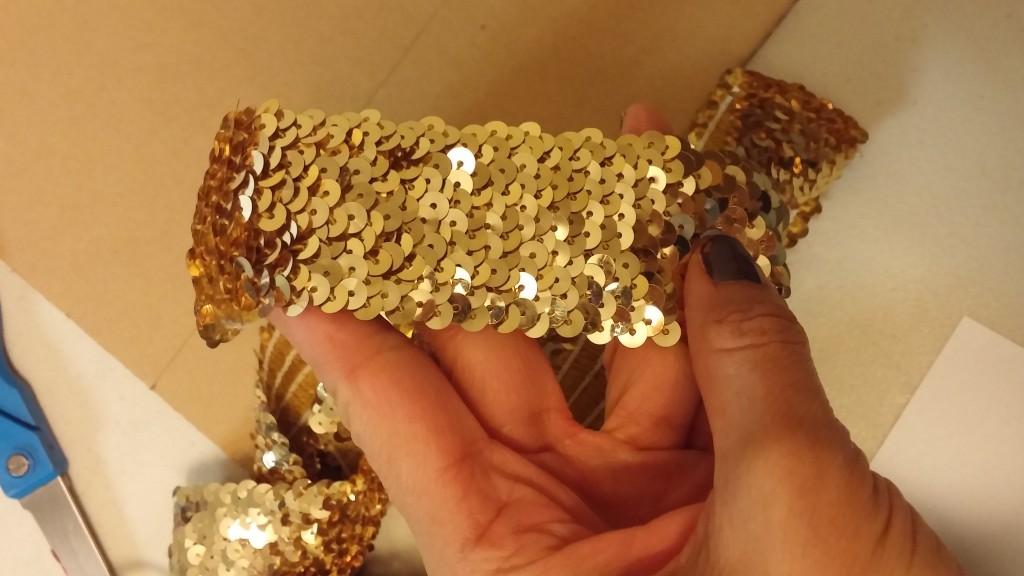
–stretch sequin gold trim (I bought 5 yards. You can use any color of your choice)
-scrap cardboard ( go to the back of a grocery store or any department store to find some ready to be rescued)
–X-Acto knife
–hot glue gun
– Metallic Gold Trim of your choice.
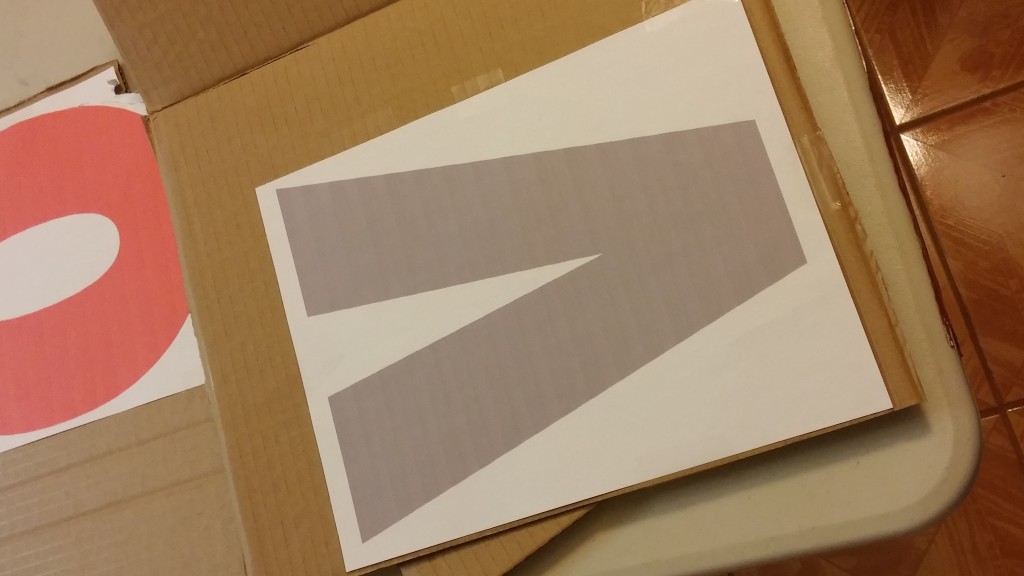
First you’ll want to print each letter in your phrase so you can use it as a template. I used Photoshop to be easier than Microsoft Word. Photoshop allows you to easily set the font size. I chose to make my letters 10″ x 4″ in width. My sequin that I bought was 2″ thick so the trim would nicely fit in two layers. Tape each letter to your scrap cardboard and cut out the letters with an X-Acto knife. As your template.
To make the ends of the trim look as neat as possible, you’ll want to fold and glue the ends under so the trim doesn’t unravel and drop sequins. I learned this by making a mistake on the first letter I made. So, at the end of the outside edge of your letter, use the hot glue gun to glue the trim end face down going away from your letter.
Fold the trim back the opposite way and continue to glue the trim all around the outside edge of the letter. When you reach the other end, cut the trim so it hangs a little past the end, fold the trim under and glue in place.
Very important: Make sure both lines of trim are going in the same direction so they will look more like one piece instead of two.
If you have a letter with intersections, don’t worry about doing the folds on places where you can cover those ends with another row. So on the “V” I just cut and glued the middle horizontal lines, then covered those cut ends with the vertical lines that had folded ends.
Once you have all your letters completed, you can line up your phrase (backwards of course!) and glue your hanging cord to the back of the letters. Once the glue sets, you’re ready to hang your garland!

Did you try it and make one? Share with us what phrase you made! xoxo- Adriana

